
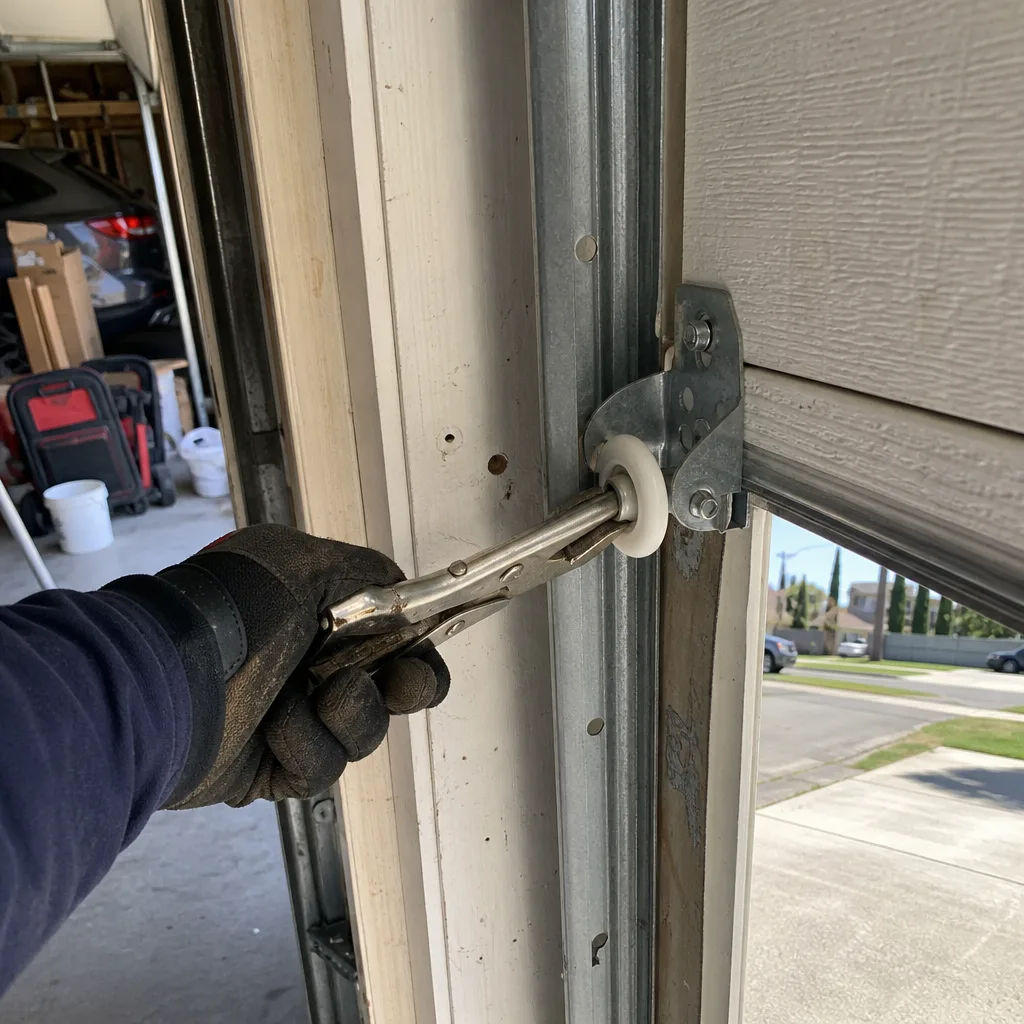
Last updated November 2, 2026
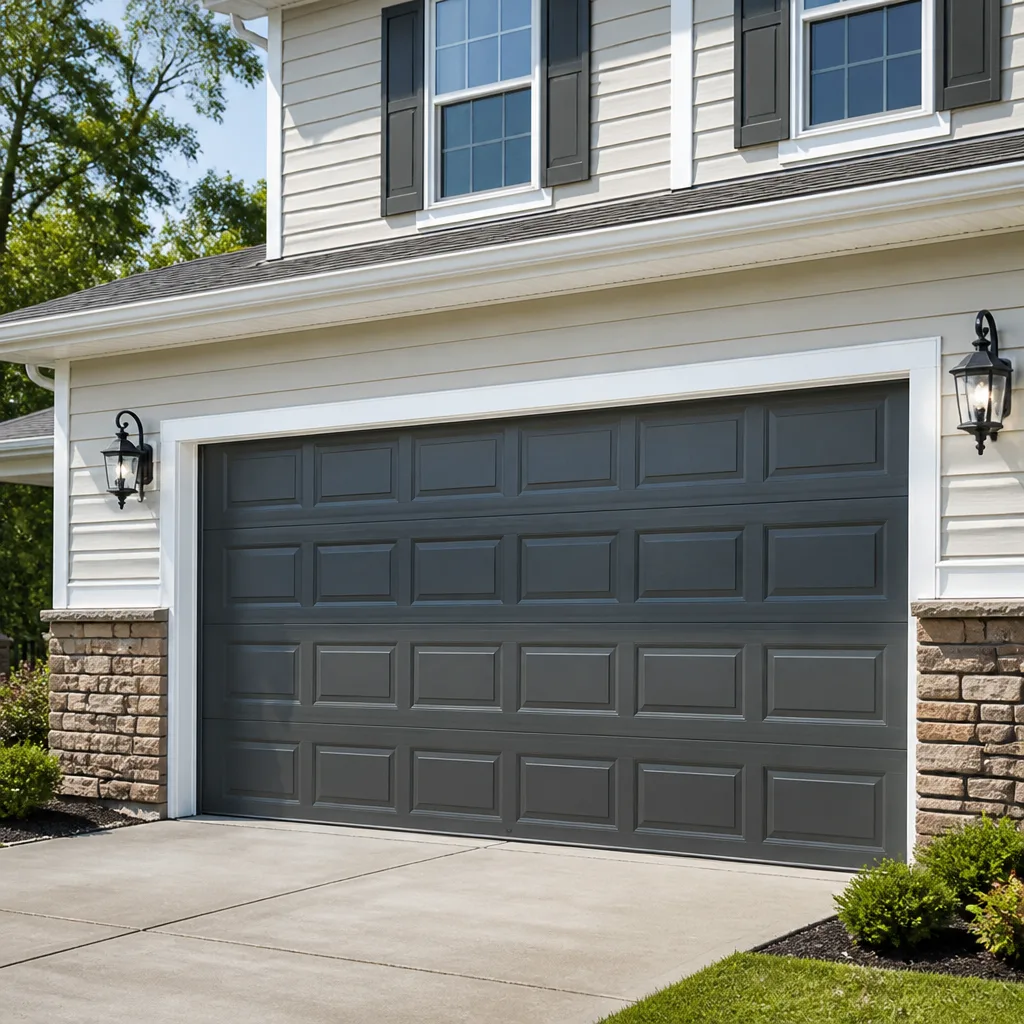 Raised-panel steel
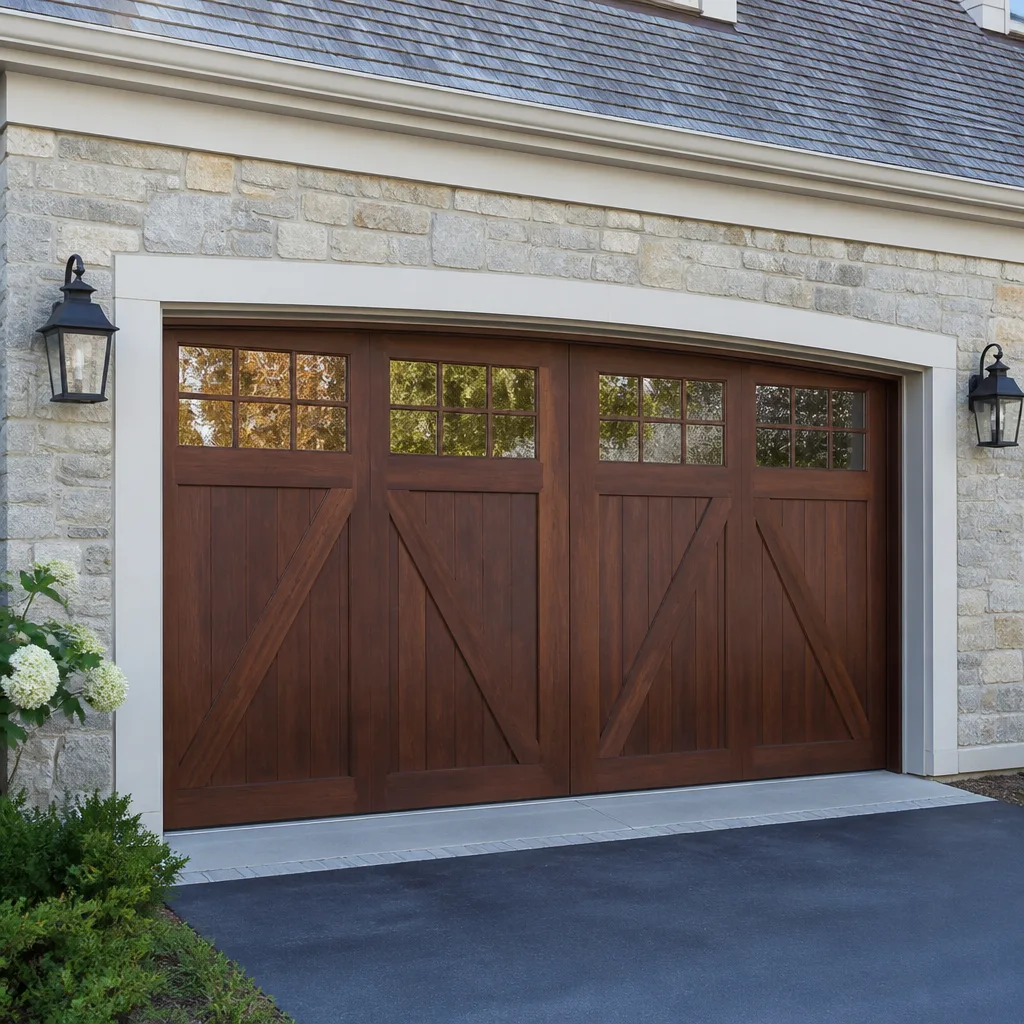 Carriage house
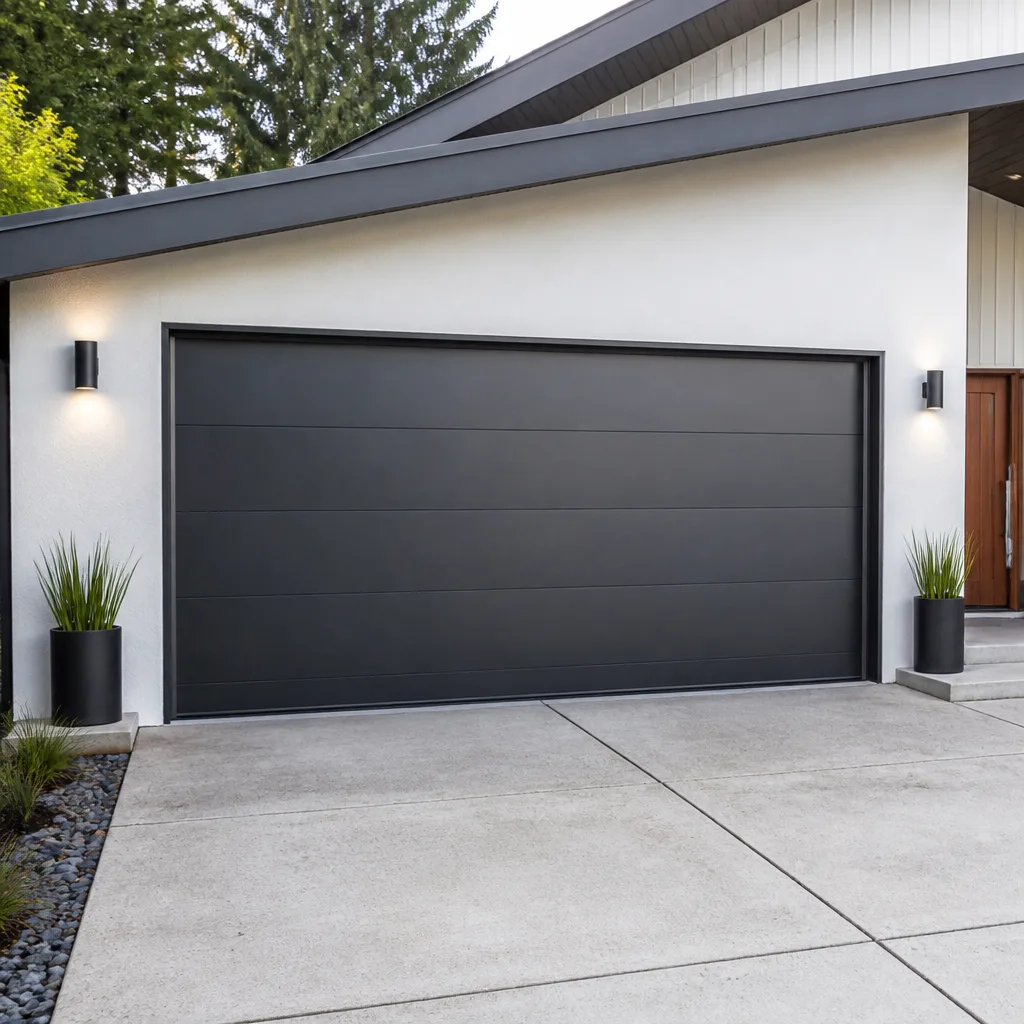 Modern flush
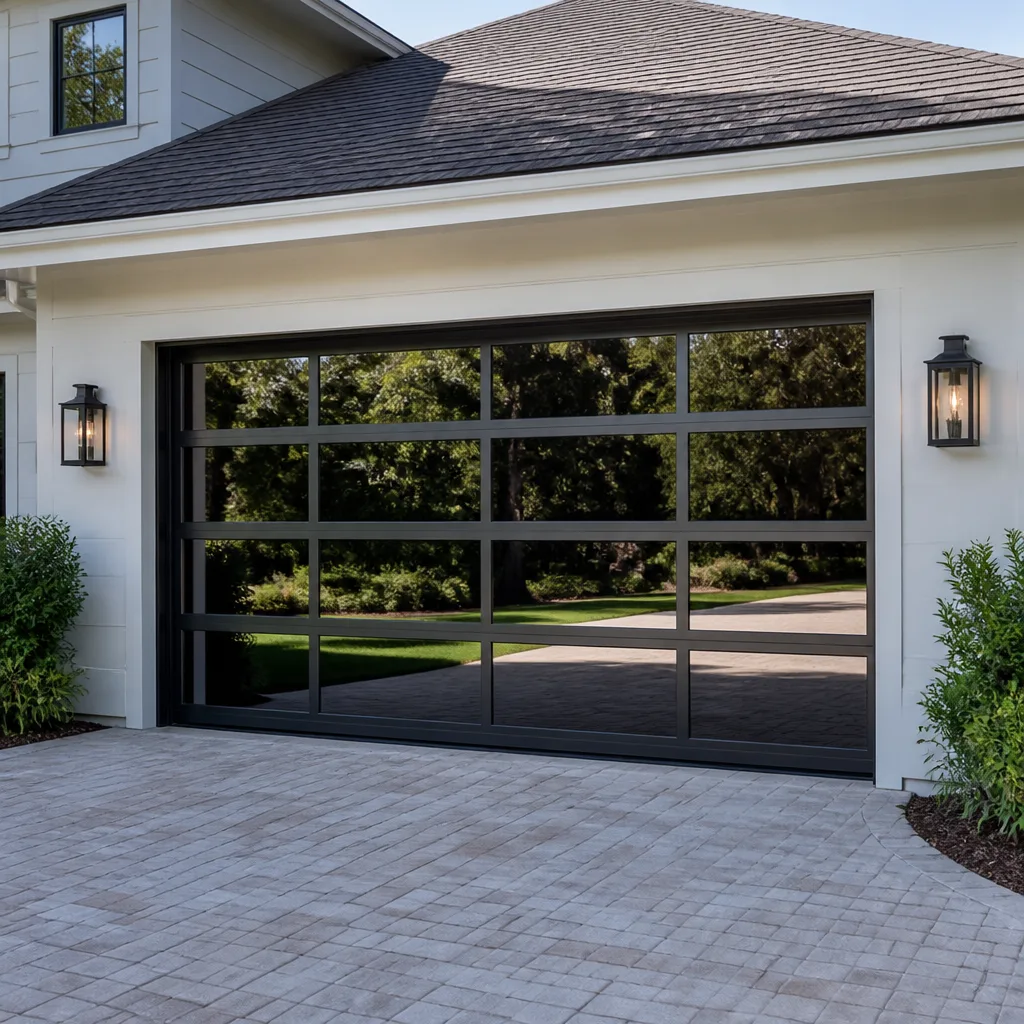 Full-view glass
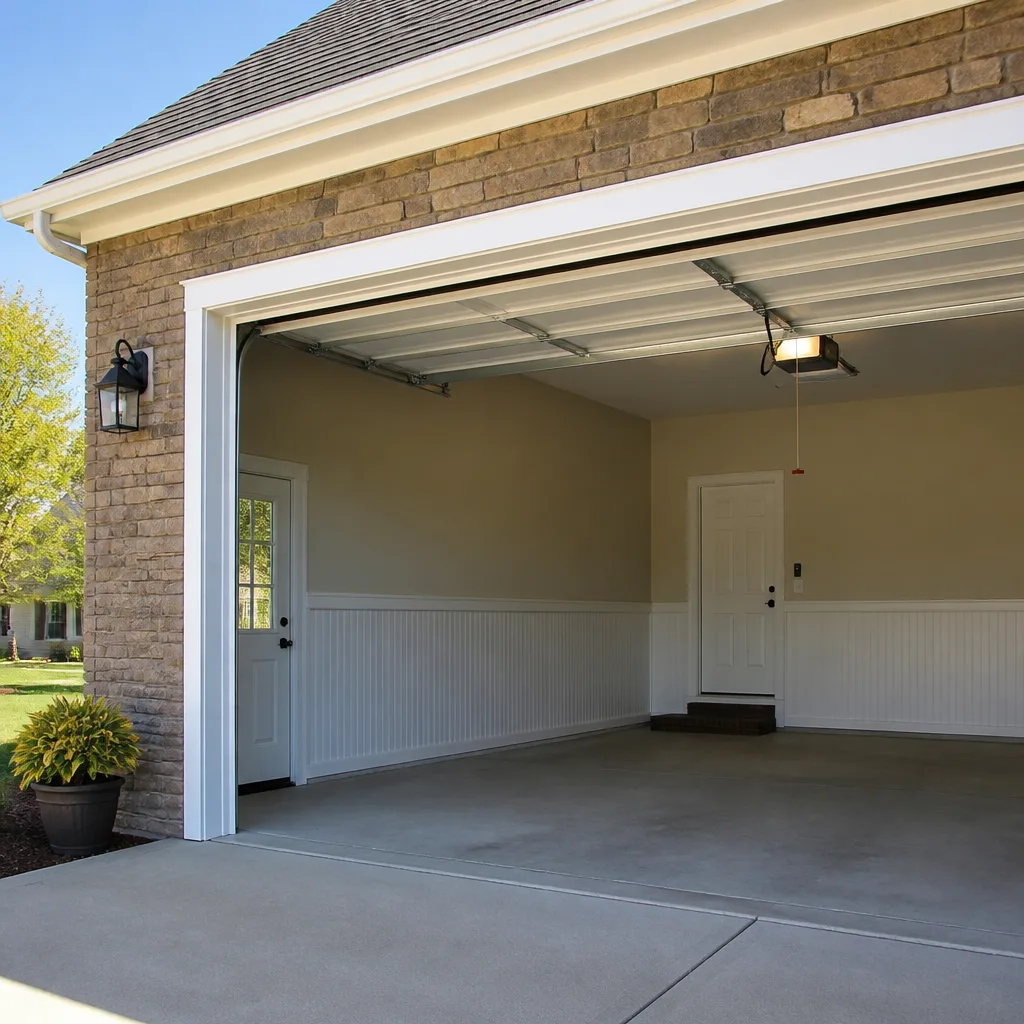 LiftMaster openers
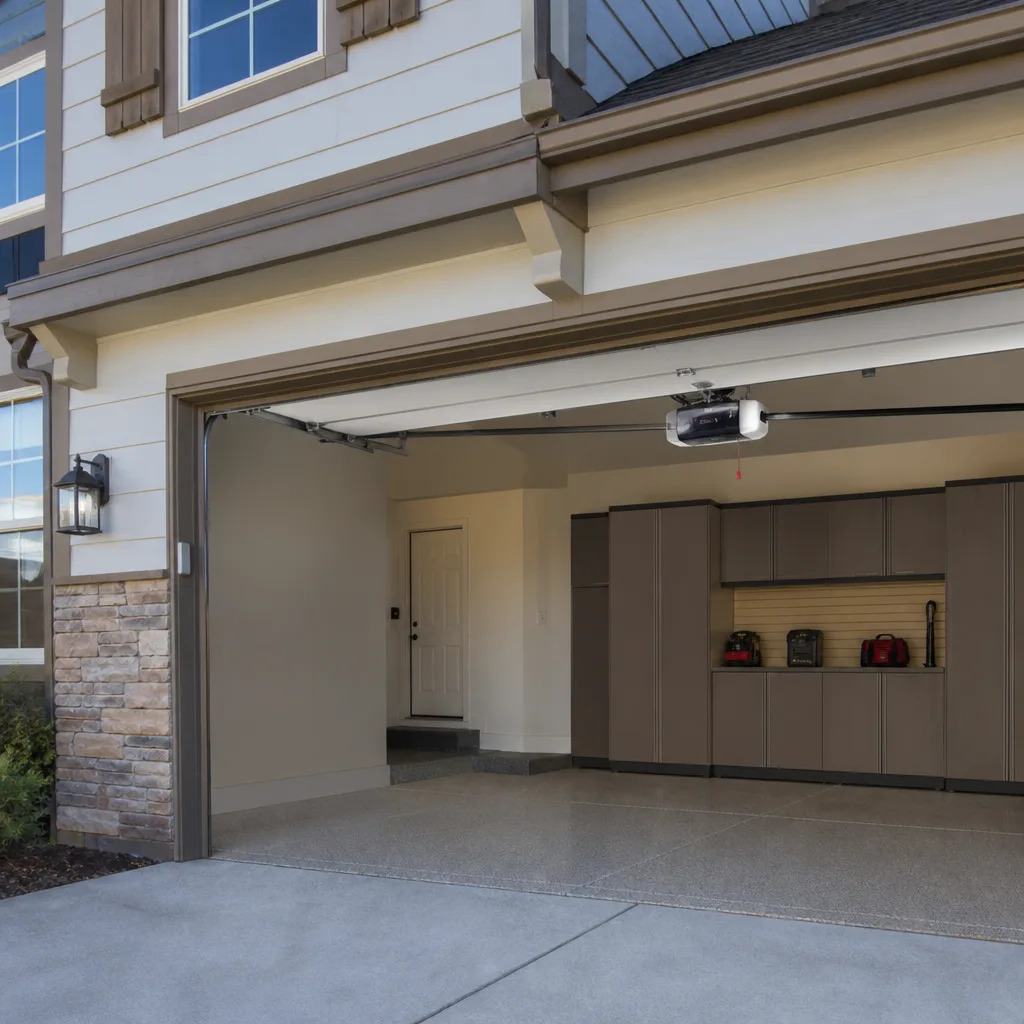 Chamberlain openers
Full 25-point door and opener safety check with every visit - springs, cables, rollers, tracks, and your LiftMaster or Chamberlain opener included
You get a price before we start. It does not change when the truck arrives.
Get your free estimateGarage Door Repair Troubleshooting: Common Problems and How to Fix Them
A garage door that reverses before hitting the floor is almost never a sensor problem. It’s usually a travel limit setting or a worn-out close-force adjustment, two things that take minutes to fix if you know where to look. Most homeowners in Jurupa Valley call us describing a symptom: “it’s loud,” “it won’t open all the way,” “the remote works sometimes.” But a symptom is not a diagnosis. This guide walks through a symptom-first thought process that narrows each complaint to its two or three most likely causes before you touch a single component. You’ll learn what to check, what to leave alone, and when the honest answer is that our Garage Door Repair services should handle it.
Styles & brands we work with
- Raised-panel steel
- Carriage house
- Modern flush
- Full-view glass
- LiftMaster openers
- Chamberlain openers
Quick Answer
Most garage door failures trace to one of seven core symptoms: the door won’t open, won’t close, reverses mid-travel, grinds loudly, slips off track, moves slowly, or responds inconsistently to remotes. Each symptom has two to three likely causes that you can narrow down with a manual-operation test and a few simple observations. Safety sensors, travel limits, spring tension, roller wear, and opener force settings account for roughly 80 percent of what we see in Jurupa Valley service calls; for Garage Door Warning Signs: A Jurupa Valley Homeowner’s Reference Guide, see our dedicated resource.
Table of Contents
- The Symptom-First Diagnosis Method
- Door Won’t Open: The Three Likely Culprits
- Door Won’t Close or Reverses Mid-Travel
- Loud Grinding, Squealing, or Rattling
- Door Off Track or Hanging Unevenly
- Slow Operation: When the Door Crawls
- Remote Works Sometimes: Intermittent Opener Problems
- Opener Error Codes: What They Actually Mean
- Common Mistakes to Avoid
- When to Call a Professional
- Frequently Asked Questions
- The Bottom Line
The Symptom-First Diagnosis Method
Here’s the test most homeowners skip: pull the red emergency release cord hanging from your opener rail, then lift the door by hand. If it moves smoothly and stays put at the halfway point, your hardware is fine and the problem lives in the opener. If it’s heavy, jerky, or binds, the hardware needs attention and the opener was just doing its best with a sick door. This single test splits every garage door complaint into two diagnostic tracks and saves a wrong fix. We run this exact sequence on nearly every service call in Jurupa Valley because it works.
Here’s the decision tree in plain terms:
- Disconnect the opener using the emergency release handle, usually a red cord near the top of the door.
- Lift the door manually from the outside handle. Note the effort required.
- Stop at chest height and let go. A balanced door stays in place. A door that drops or shoots upward has spring tension problems.
- Run the door fully up and down by hand. Listen for grinding, watch for hesitation, feel for binding.
- Reconnect the opener by running the carriage until it clicks back into the release mechanism.
That’s the whole method. It immediately tells you whether you have a motor problem, a spring problem, a track problem, or a roller problem. From there, each symptom below gets narrower.
One detail specific to Jurupa Valley and the wider Inland Empire: fine dust from the Santa Ana winds settles into opener gears and track channels. It acts as a mild abrasive. A door that functioned fine in May may bind in October purely because the summer winds introduced grit into components that were already marginal. We tell homeowners to wipe down tracks and check the photo eye lenses as part of basic fall maintenance, before the first cold snap arrives.
See the difference
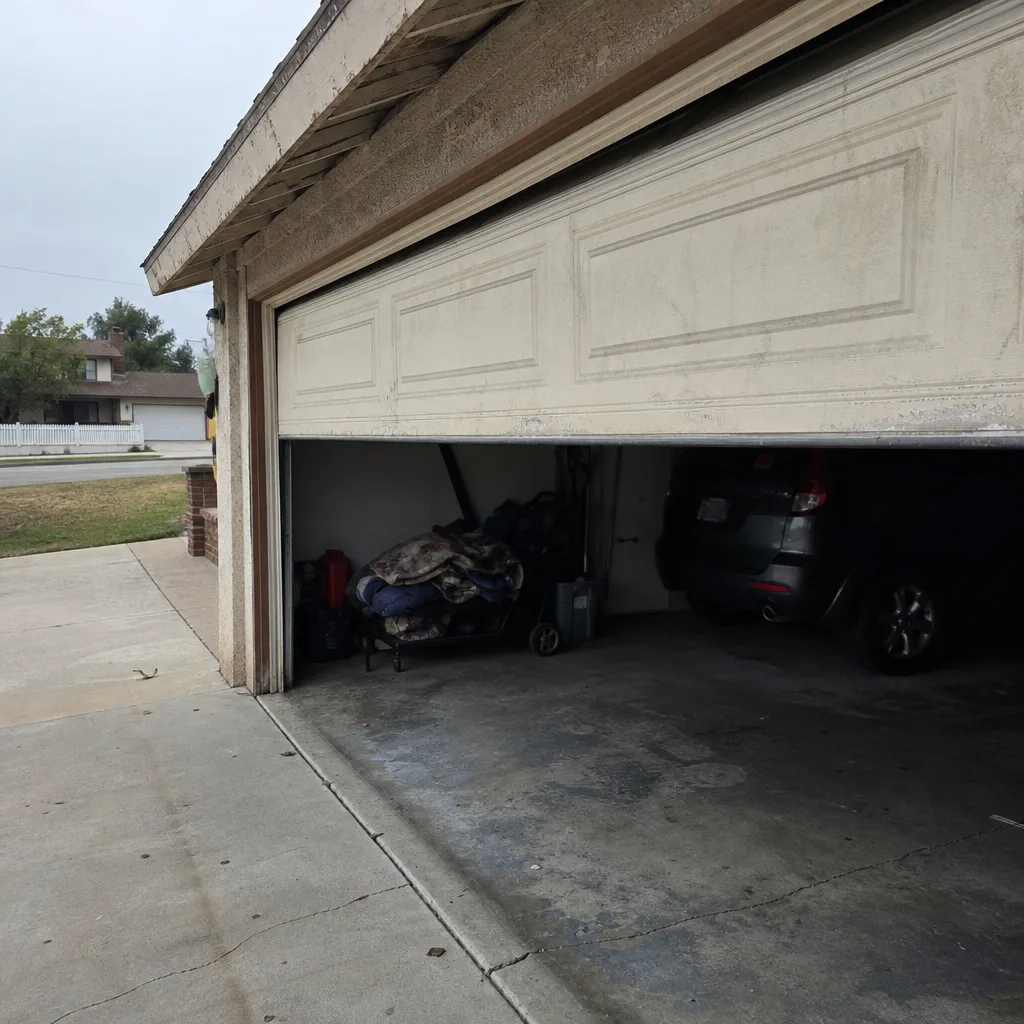 Before
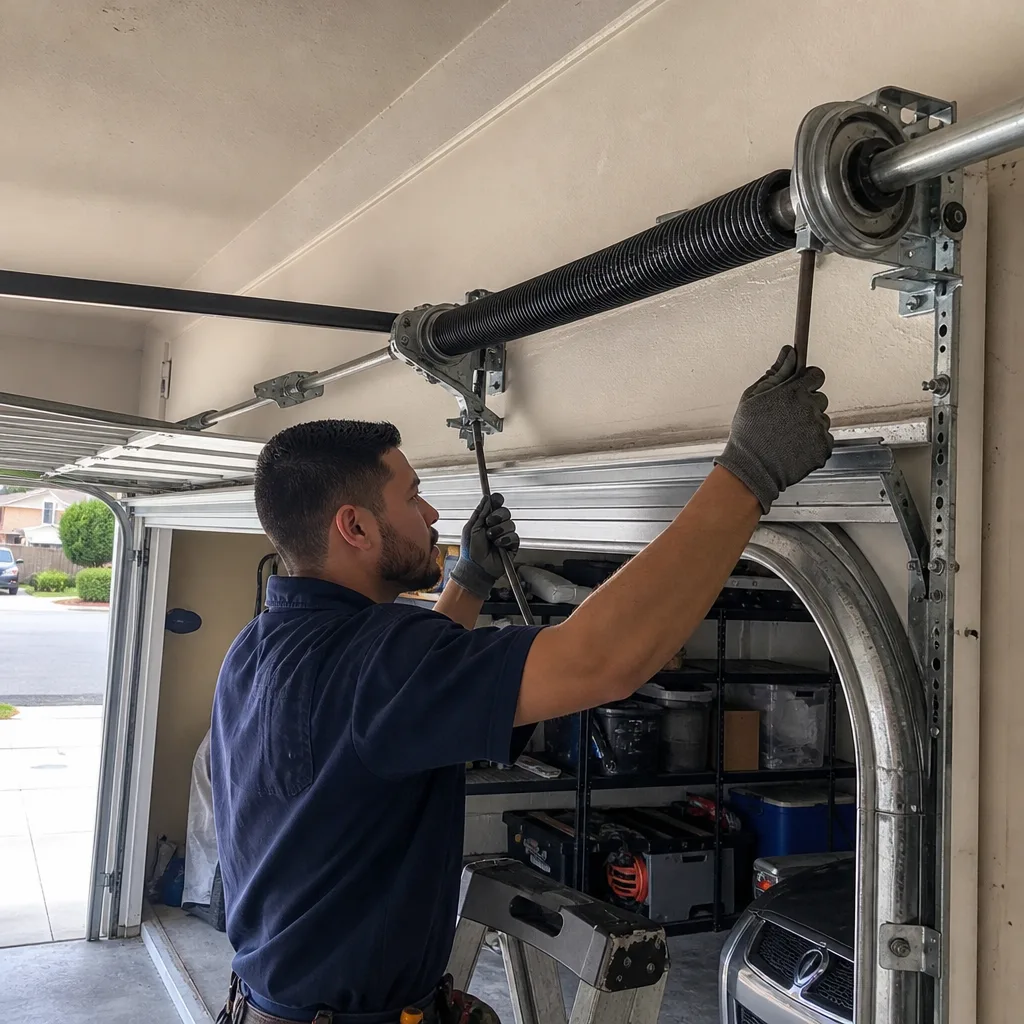 After
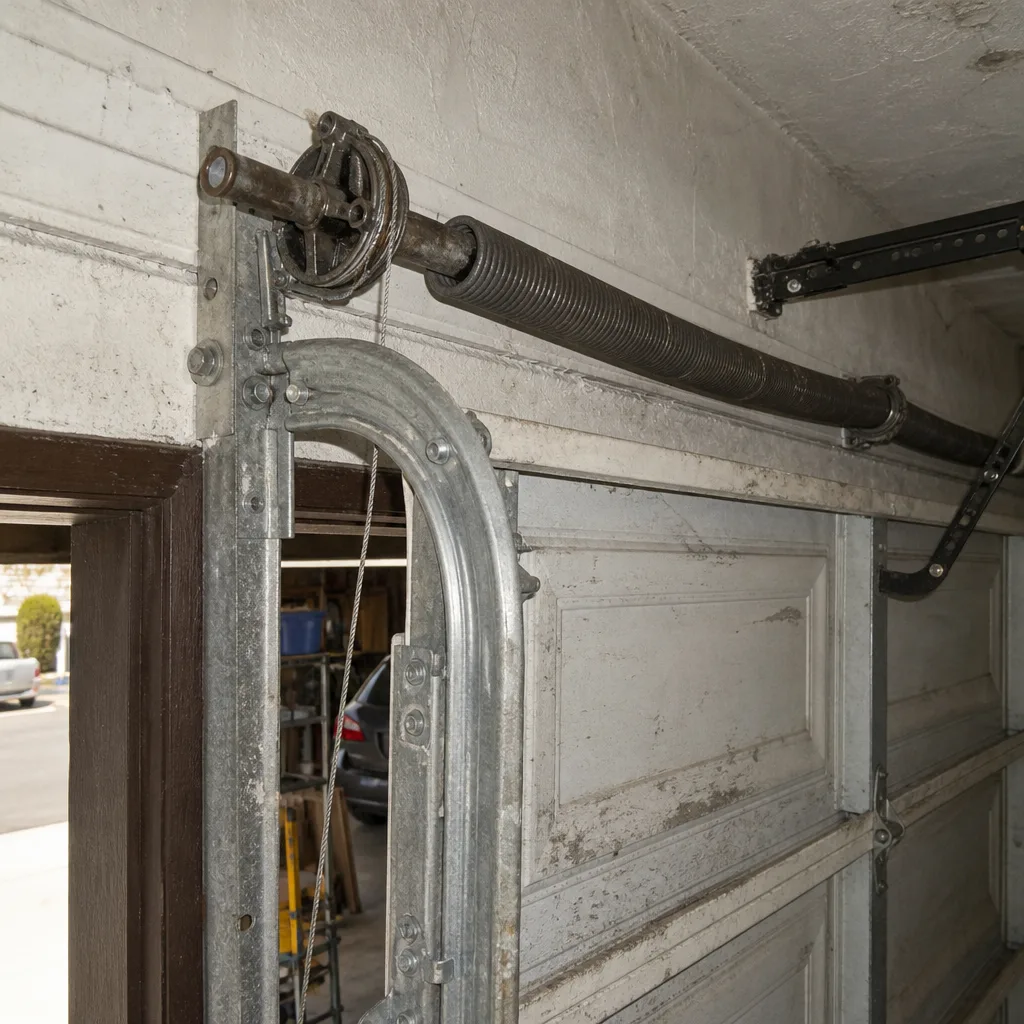 Before
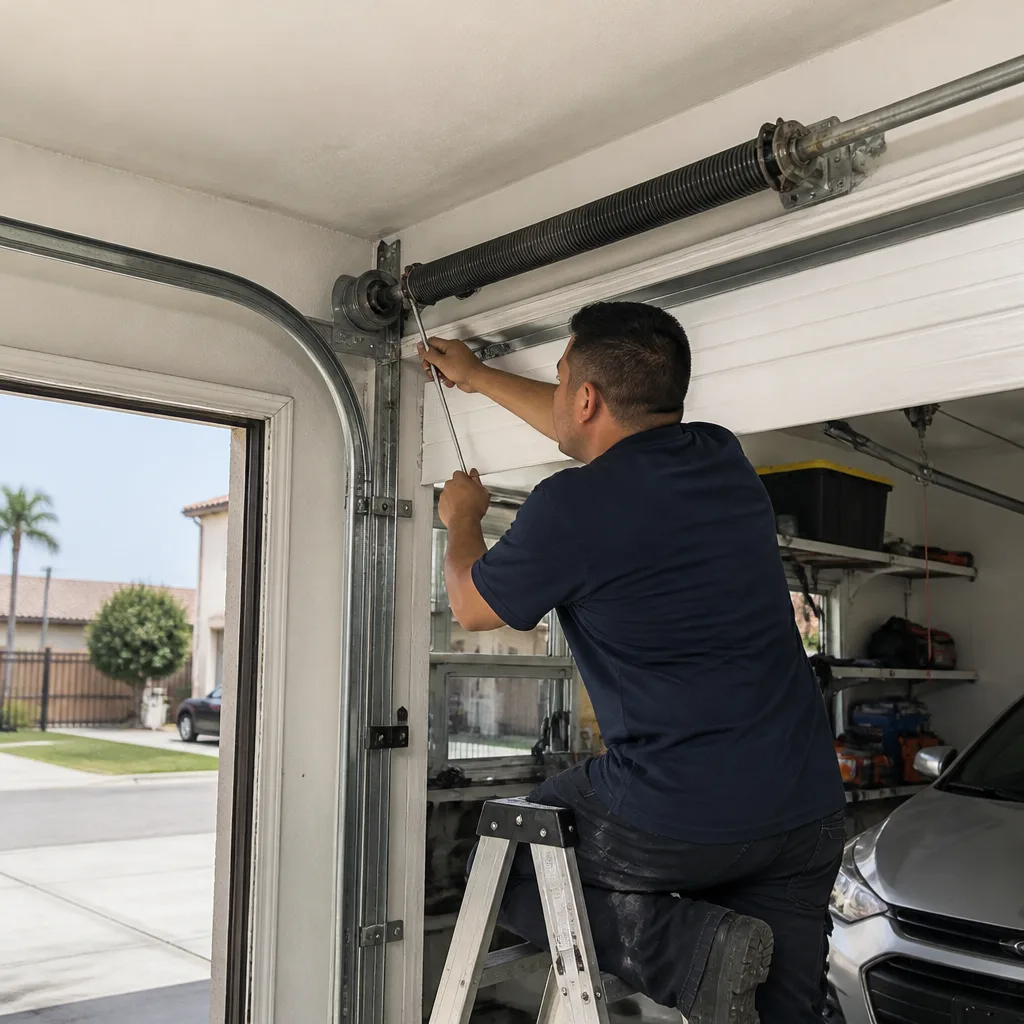 After
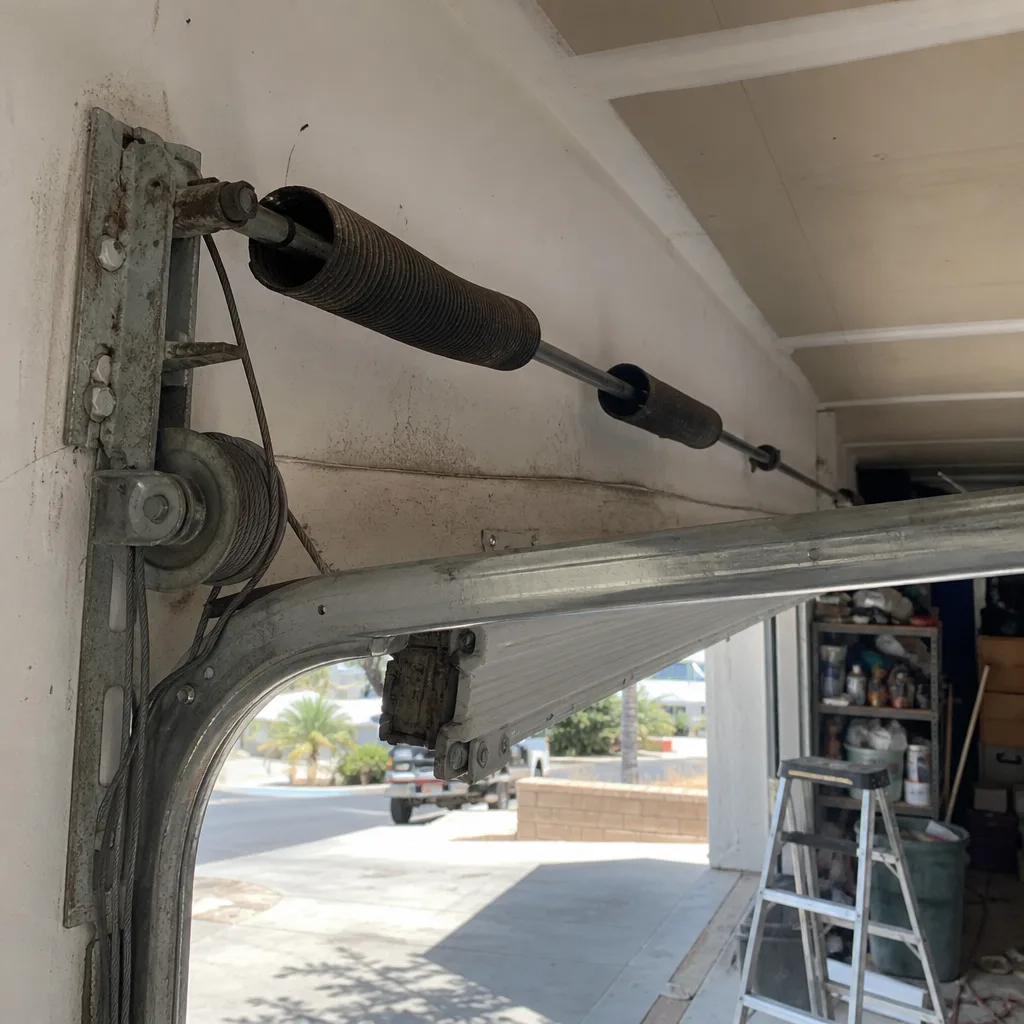 Before
 After
Door Won’t Open: The Three Likely Culprits
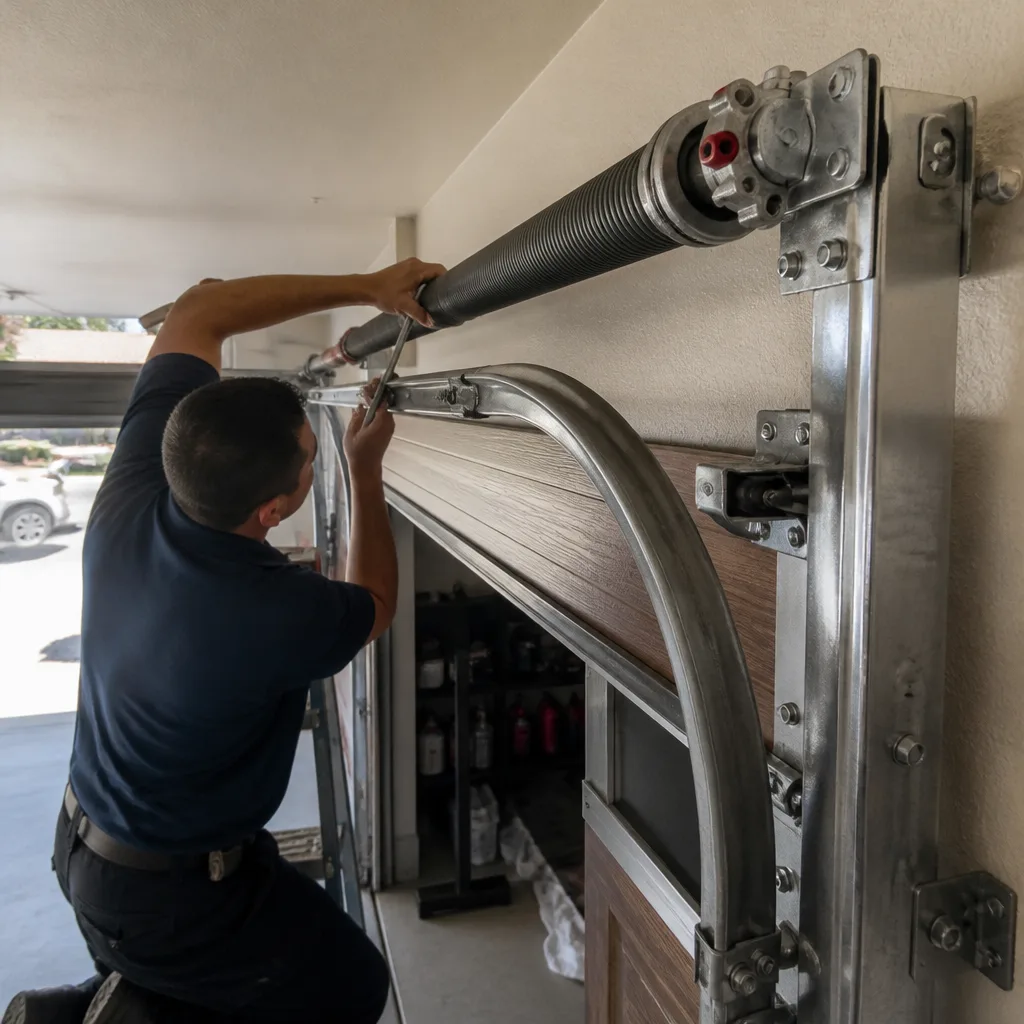
When a door refuses to open, most people assume the motor died. More often the motor is fine and one of three things is going on: the door is mechanically stuck due to spring failure, the opener’s safety system thinks the door is obstructed, or the opener itself has lost power or programming. Start with the manual operation test from the previous section. If the door won’t lift by hand, you have a hardware problem, not an opener problem, and the most likely suspect is a broken torsion spring. Torsion springs sit on a bar above the closed door and typically fail with a sound like a gunshot. If you heard that sound recently, the spring is the culprit and the opener won’t lift the door because the door now weighs its full 150 to 250 pounds without spring assist.
If the door lifts by hand but the opener won’t do the job, check three things in this order:
- Power delivery: Is the opener’s outlet live? Test it with a lamp. You’d be surprised how often a tripped GFCI circuit in a Jurupa Valley garage explains a “dead” opener. Modern openers pull current even in standby, and a shared circuit with a freezer or laundry equipment can trip under seasonal load.
- Photo eye obstruction: If the opener hums for half a second and stops, the safety eyes at the bottom of the door tracks are blocked or misaligned. The opener refuses to operate in either direction when the beam is interrupted. Clean the lenses, verify the small LED lights are lit solid, and try again.
- Travel limits and force settings: After a power surge or battery replacement, opener settings can drift. If the opener starts to lift, then stops near the halfway point and reverses, your travel limit tells the motor the door has already reached full open. Adjusting travel limits is a doable homeowner task on most LiftMaster and Chamberlain models if you have the manual and follow it exactly.
Spring failures need professional replacement. The stored energy in a garage door spring is enough to cause serious injury, and we never coach homeowners through winding and unwinding them. See When to Call a Professional for the scenarios where a pro is non-negotiable.
Door Won’t Close or Reverses Mid-Travel
This is the symptom family where people burn the most money on unneeded sensor replacements. A door that reverses partway down and returns to open is usually not a sensor problem. The two most common causes are travel limits that no longer match the physical door and close-force settings that have decayed as springs lose tension. Here’s how to tell them apart:
- Door reverses one inch from the floor, every time: Close-force setting is too low or the floor seal is binding. The opener interprets the resistance as an obstruction and reverses. Try closing the door with the same setting after clearing debris from the floor area. If the door still reverses, lower the close-force setting gradually in small increments on your opener until the door closes firmly without pound-pounding into the concrete.
- Door reverses from the midpoint, every time: Travel limit is set wrong. The opener thinks the closed position is higher than it actually is and aborts what it believes is an overshoot. Adjust the close travel limit to allow the door to reach the actual floor.
- Door reverses at random positions: Watch the photo eye lights during the close cycle. Flickering or intermittent LED lights point to loose wiring, a bad splice, or a sensor vibrating inside a cracked bracket. This is more common on older Wayne Dalton chain-drive openers than on newer belt-drive units.
If safety eyes truly are the problem, you’ll see the door start to close and immediately stop with no downward movement, or refuse to close at all. That’s the signature of a blocked beam, not a travel issue.
One more scenario we see in Jurupa Valley garages with high ceilings and longer door travel: the headroom gap lets the door drift slightly sideways over decades, and the rollers start grinding against one track. The opener senses the added friction and reverses. That’s a hardware fix, not an opener repair, and it’s why the manual operation test always comes first.
Loud Grinding, Squealing, or Rattling
Garage doors are never silent, but the character of the noise tells you a lot. A smooth hum that stays constant is normal. A new grinding sound that you notice from inside the house is not. Here are the noise profiles and what they point to:
- Squeal on every panel joint: Metal rollers running on dry bearings. This is the easiest fix: replace the rollers with nylon-ball-bearing rollers. The difference is dramatic. A door that previously sounded like a passing freight train quiets to a low whoosh. LiftMaster and Chamberlain openers don’t have to work as hard once roller friction drops, and you’ll extend the life of both the opener and the door.
- Rattle near the opener housing: Loose drive chain or belt. Chain-drive openers pick up slack over time and the chain slaps the rail. Tightening to specification is a quick adjustment on most Craftsman and LiftMaster models, but over-tightening a chain will kill the sprocket bearing, so if you’re not sure, leave it.
- Growl from the motor with no movement: Stripped plastic gear inside the opener head. On many older Chamberlain and LiftMaster units the worm gear is a sacrificial plastic component designed to strip before the motor burns out. When we hear that sound in a Jurupa Valley service call, the fix is usually a gear kit rather than a whole new opener, which is the kind of repair-first call we prioritize.
- Metal-on-metal shriek from the spring area: Dry torsion springs rubbing against each other. Lubricate springs with a proper garage door lubricant. Don’t use WD-40, which dries and leaves a sticky residue that attracts dust. A silicone-based spray is the right tool.
The manual-operation test applies here too. If the noise continues with the opener disconnected and the door moved by hand, the noise is in the hardware. If it only occurs when the motor runs, the opener is the source. Test before you buy parts.
Door Off Track or Hanging Unevenly
An off-track door is a visual diagnosis. One side of the door hangs lower than the other, or one or more rollers have exited the track channel. The causes are usually limited to three things:
- A broken cable or spring: When one side loses tension, the door’s weight shifts and the rollers pull out of the track. This is the most common cause in Jurupa Valley because temperature swings widen the metal track over time and place uneven stress on cables and springs.
- Impact damage: A car bumping the door or a lawn mower clipping the bottom panel pushes one side sideways. Even a minor impact can pop a roller out, and once one roller is out the neighboring rollers follow like zippers.
- Worn roller bearings that have seized: A roller that no longer spins becomes a skid. The door drags on one side, the opener compensates by twisting the door in the track, and eventually a roller walks out of the channel.
The first question to ask: did you hear a loud bang before the door went crooked? If yes, you likely have a spring or cable failure and the door should not be operated further. If no bang, inspect the track brackets for looseness and the rollers for visible flattening. A roller that wobbles or has play in its stem is near failure even if it still looks round.
An off-track door is one of those situations where a visual inspection by a trained eye is worth it. The track system is under constant tension when the door is suspended, and hammering rollers back into place without first relieving that tension is dangerous. We carry track parts and roller kits on the truck for the common residential door brands in Jurupa Valley, including Raynor and Wayne Dalton.
Slow Operation: When the Door Crawls
A garage door that moves noticeably slower than it did six months ago has either a mechanical drag problem or an opener that’s on its way out. Distinguish between them with the manual test. If the door also feels heavy to lift by hand, the springs have lost tension and are doing less work. The opener strains against the extra weight and moves slower as a result. Spring replacement or re-tensioning is the fix, and it’s a job for a professional.
If the door lifts easily by hand but creeps when the opener runs, look at the opener’s internals. Belt-drive openers can develop stiff belt tensioners. Chain-drive openers accumulate grime on the chain that thickens in cold weather. And older screw-drive openers, common on Craftsman units from the 1990s and early 2000s, suffer from dried grease inside the screw channel that turns to glue. A cleaning and re-greasing of the screw with the correct lithium-based grease restores normal speed in most cases, though if the motor is already overheating on a short cycle, the unit is near end of life regardless of lubrication.
Extreme heat is a factor in Jurupa Valley summers that most guides from wetter climates never mention. Garage air temperatures over 100 degrees soften plastic gears and reduce motor torque. A door that operates slowly from June through September and returns to normal in October may be fine. Install a garage door insulation panel or a vent fan before replacing an opener that’s only heat-blunted.
Remote Works Sometimes: Intermittent Opener Problems
Intermittent remote failure is the most annoying diagnosis because it never reproduces on demand. The manual test won’t help here; this problem lives in the signal path, not the door. Here’s the order we use to isolate remote problems:
- Test every remote and the wall button. If the wall button always works but all remotes are flaky, the receiver inside the opener is the problem. If one remote flaky, the remote is the problem. This distinction saves you from replacing the wrong component.
- Replace the remote battery first. A weak battery produces intermittent range and failing codes long before it dies completely. This is the cheapest possible fix and resolves a surprising number of calls.
- Check for local RF interference. LED bulbs in the garage opener or in a nearby fixture emit radio frequency noise that can drown out remote signals. This is a real documented problem with certain LED bulbs and has affected every major brand including LiftMaster and Genie. If your remote works within five feet of the opener and fails from the driveway, swap any LED bulbs near the opener for incandescent or RF-shielded LED bulbs and retest.
- Reprogram the remote. Memory corruption happens, especially on older Raynor and Chamberlain units. Reprogramming is free and takes two minutes.
- Inspect the door’s safety sensor wiring. A loose wire on the photo eye system interrupts the entire opener’s logic board, causing erratic behavior beyond the close cycle.
Battery and interference account for the majority of intermittent remote issues. Both are fixable without replacing the opener. Once programming and interference are ruled out, a weak receiver board in an aging opener is the likely endpoint, and at that point the conversation shifts to whether to replace the board or the whole unit.
When our team handles garage door opener repair in Jurupa Valley, the first things we check are the power source, the safety eyes, and the remote batteries. Most opener issues never get far past those three stops.
Opener Error Codes: What They Actually Mean
Modern openers flash diagnostic codes through the learn button or a small LED. Those codes are actually useful if you can read them. Here’s a plain-language translation for the openers we see most often in Jurupa Valley garages:
LiftMaster and Chamberlain
- One flash: Sensor wire short or safety sensor fault. Check the wiring at the sensors and the opener terminals.
- Two flashes: Safety eyes misaligned or blocked. Clean lenses, check brackets, align until both LEDs stay lit.
- Three flashes: Door travel limit problem. The opener doesn’t know where the door is. Reset travel limits per the manual.
- Four flashes: Door obstruction detected. Check for debris in the door’s path or a broken spring preventing movement.
- Five flashes: Motor RPM issue. On belt-drive units this usually means the belt is too tight or too loose. On chain-drive units the chain needs adjustment.
- Six flashes: Logic board failure. This is a board replacement call. In our experience, once a LiftMaster logic board fails, the labor and part cost approaches that of a new opener, and most homeowners choose replacement.
Genie
- One red flash, one long pause: Safety beam problem. Clean and align the sensors.
- Two red flashes, two long pauses: Door travel limit set incorrectly. Reprogram travel per the manual.
- Three red flashes, three long pauses: Force setting issue. Reset force per the manual and rebalance the door.
- Four red flashes, four long pauses: Motor overheat or RPM sensor fault. Let the opener cool and retest; if it recurs, the RPM sensor is failing.
These codes are printed in the manual, but most homeowners don’t have a printed manual for the opener that came with the house. If you don’t, the model number is printed on the side of the motor housing and the manual is a quick search away. Knowing the code before you call a repair service saves a diagnostic visit and makes the phone call shorter; find more guides & resources on our blog.
Common Mistakes to Avoid
- Replacing sensors before checking travel limits. The reverse-before-floor symptom is almost never a sensor problem. We’ve been called out to Jurupa Valley homes where a homeowner spent $80 on new safety eyes only to have the door behave identically. Check limits first; they’re adjustable in minutes and cost nothing.
- Spraying WD-40 on everything. WD-40 is a solvent, not a garage door lubricant. It washes away the grease in rollers and springs, leaving them dry within weeks. Use a white lithium or silicone-based garage door spray instead.
- Tightening spring bolts without understanding tension. A torsion spring under wound tension stores the energy needed to throw a wrench across the room. Any adjustment to springs belongs to a trained professional, which is why our repair techs in Jurupa Valley never walk a homeowner through it over the phone.
- Oiling tracks. Tracks should be clean and dry. Oil in the track channel traps grit from the Jurupa Valley winds and forms an abrasive paste that accelerates roller wear. Lube the bearings, not the track.
- Replacing the opener when the door balance is off. A new opener will work hard to open a heavy door until the new motor also burns out. Springs are the foundation; opener work depends on good spring balance.
- Adjusting force settings before checking door balance. Force adjustments are meant to fine-tune a healthy door. Cranking up the force to muscle a heavy door closed is a temporary mask that leads to a blown gear or a damaged panel. We see the result of this mistake in repair calls where a door has been slammed shut by over-force for months.
- Running a door that’s visibly off track. Every cycle with a roller out of the track causes more damage until the cable snaps or the panel bends. Cut the manual test short at the first hint of off-track movement.
When to Call a Professional
Some garage door problems are safe to fix with a screwdriver and a flashlight. Others are unforgiving. Broken torsion springs: call a professional. Cables that have snapped or frayed: call a professional. A door that has come off track with a spring still under tension: call a professional. Any opener diagnostic that ends in a logic board failure: call a professional. The hundreds of pounds of stored energy in a wound spring deserve respect, and the worst injuries in this trade come from well-meaning homeowners working with hand tools on components that release all that energy at once. If the problem involves a spring, a cable, or a track under load, the repair belongs to someone who does this every day. For everything else, the checks in this guide will get you an answer in under thirty minutes. If you’ve worked through the symptom logic and you’re still stuck, Briarwood Garage Door Repair home offers free estimates in Jurupa Valley, call (866) 569-5176 and we’ll diagnose it on site. For a full replacement consult, our garage door installation in Jurupa Valley service starts with the same diagnostic discipline before recommending any new hardware.
Frequently Asked Questions
Most common repairs in Jurupa Valley run between $120 and $350 depending on parts and labor, with spring replacement sitting at the upper end of that range and roller replacement at the lower end. The exact price depends on your door’s weight, brand, and whether specialty parts need to be ordered. Call (866) 569-5176 for a free estimate before any work begins.
In most cases, yes. We keep common parts for LiftMaster, Chamberlain, Genie, Clopay, Amarr, Wayne Dalton, Craftsman, and Raynor systems on the service van, so the repair usually happens on the first visit. Call (866) 569-5176 with your symptom and we’ll tell you honestly whether same-day service applies to your situation.
The price we quote is the price you pay, and it’s agreed before any work starts. If we find a second problem during the repair, we’ll show it to you and get your approval before touching it. No surprise invoices. Call (866) 569-5176 for a transparent quote.
We work on the full range of common residential garage door systems including LiftMaster, Chamberlain, Genie, Clopay, Amarr, Wayne Dalton, Craftsman, and Raynor. Briarwood Garage Door Repair isn’t tied to selling one manufacturer’s product, so our recommendation is always based on what’s already installed on your home and what makes sense for your budget. See How to Hire a Garage Door Contractor in Jurupa Valley: A Step-by-Step Guide for tips on choosing wisely.
Use the manual test: pull the emergency release and lift the door halfway. If it stays put, springs are okay. If it drops hard or shoots up, the springs are out of balance and likely near failure. This test takes thirty seconds and doesn’t require releasing any stored energy. If the door fails the test, call us before running the opener further.
Heat is the answer. Garage interiors in the Inland Empire regularly exceed 100 degrees in summer, which softens plastic opener gears and increases resistance in motor bearings. If your door operates normally during cooler months and slows during heat waves, the opener is heat-limited, not broken. Insulating the garage is often a better fix than replacing the opener.
The Bottom Line
Every garage door complaint traces back to one of seven symptoms, and each symptom has a small handful of causes that a manual-operation test narrows down in thirty seconds. Start with the symptom, not the component. Pull the release cord. Lift the door. Listen. Watch the sensor lights. Read the error code. By the time you’ve completed those checks, you’ll know whether you’re fixing a roller, reprogramming a remote, adjusting a travel limit, or picking up the phone. And for full-service garage door repair in Jurupa Valley, the team at Briarwood Garage Door Repair is one call away at (866) 569-5176 for a free estimate.
Written by the team at Briarwood Garage Door Repair, serving Jurupa Valley since 2018.