
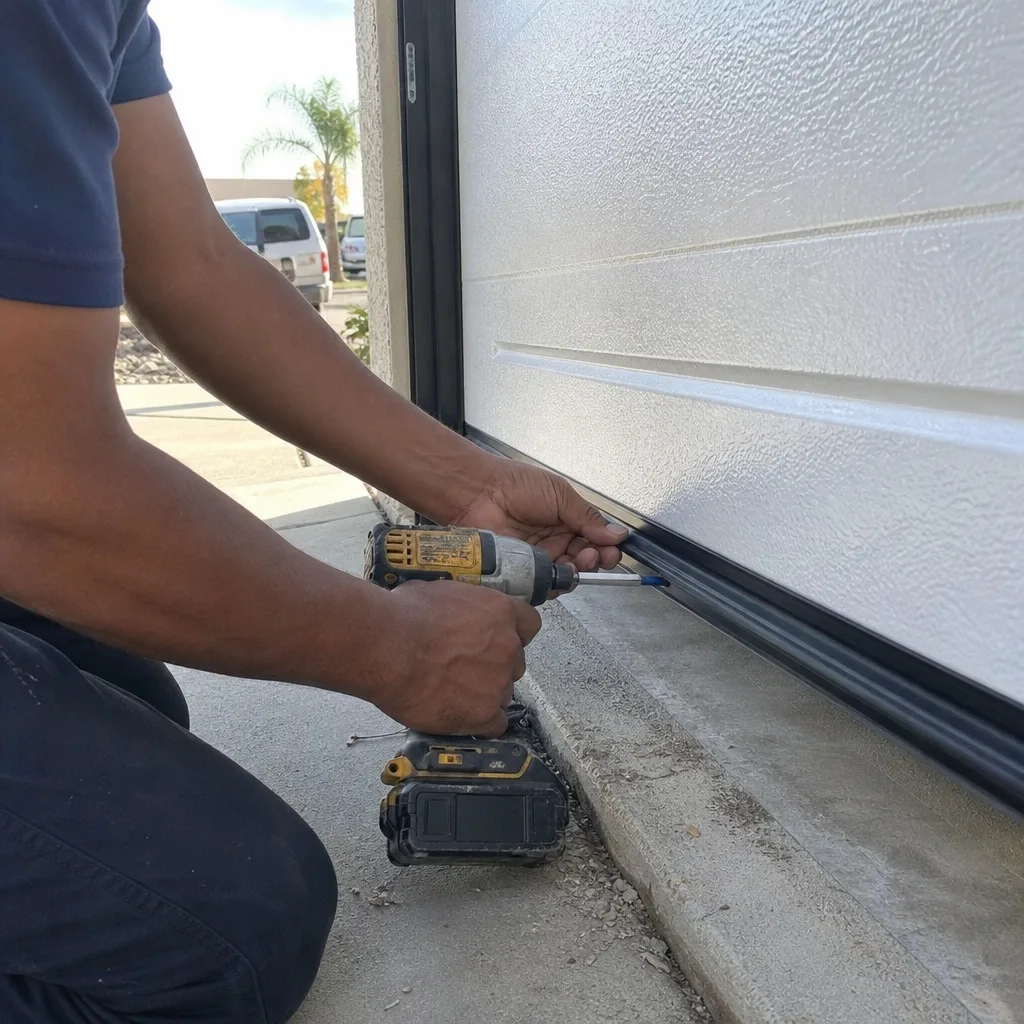
Last updated November 2, 2026
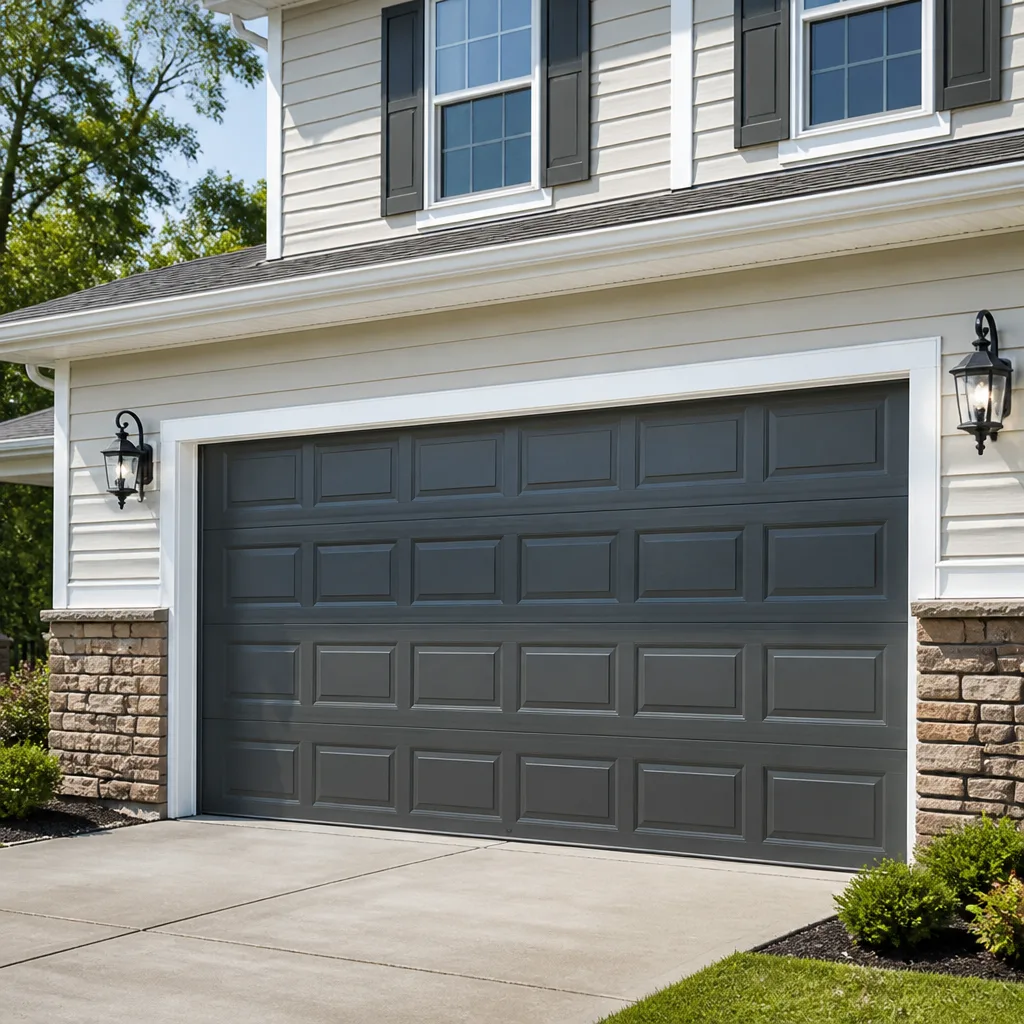 Raised-panel steel
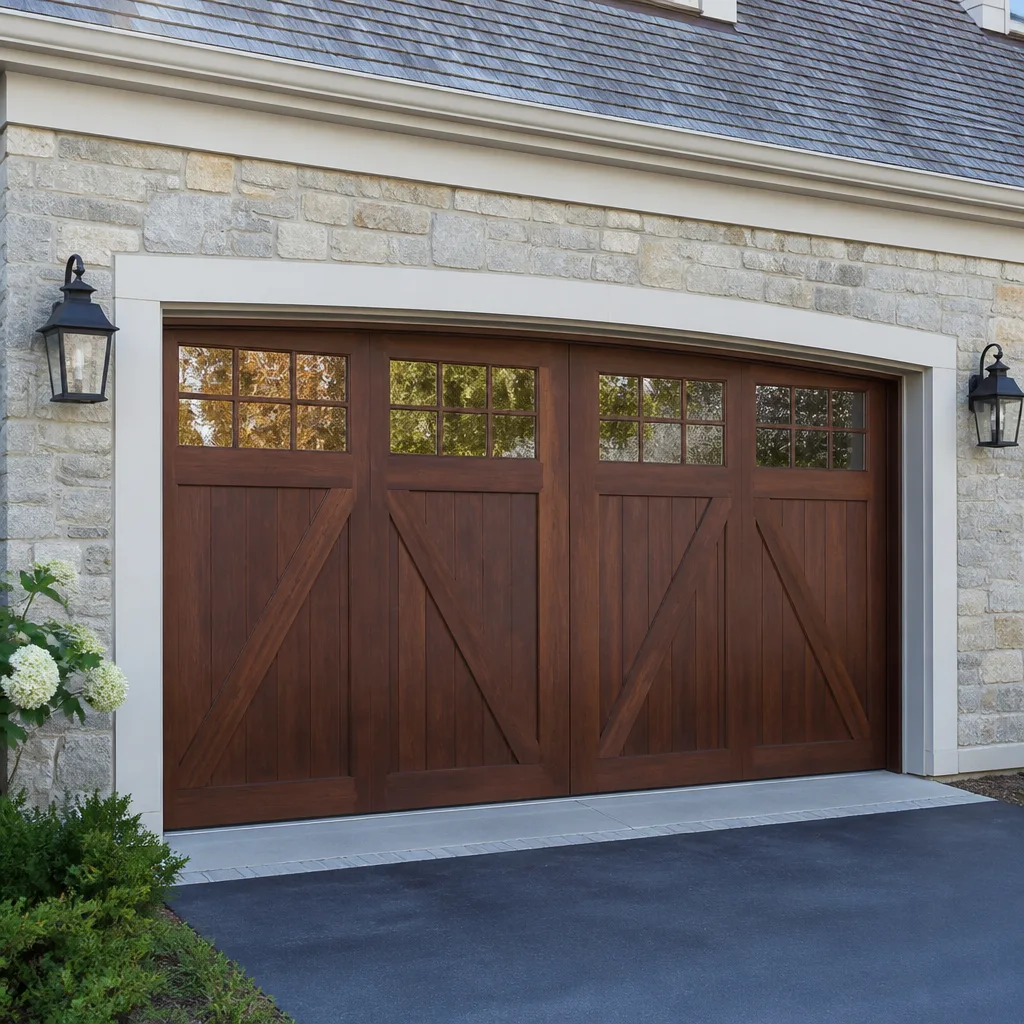 Carriage house
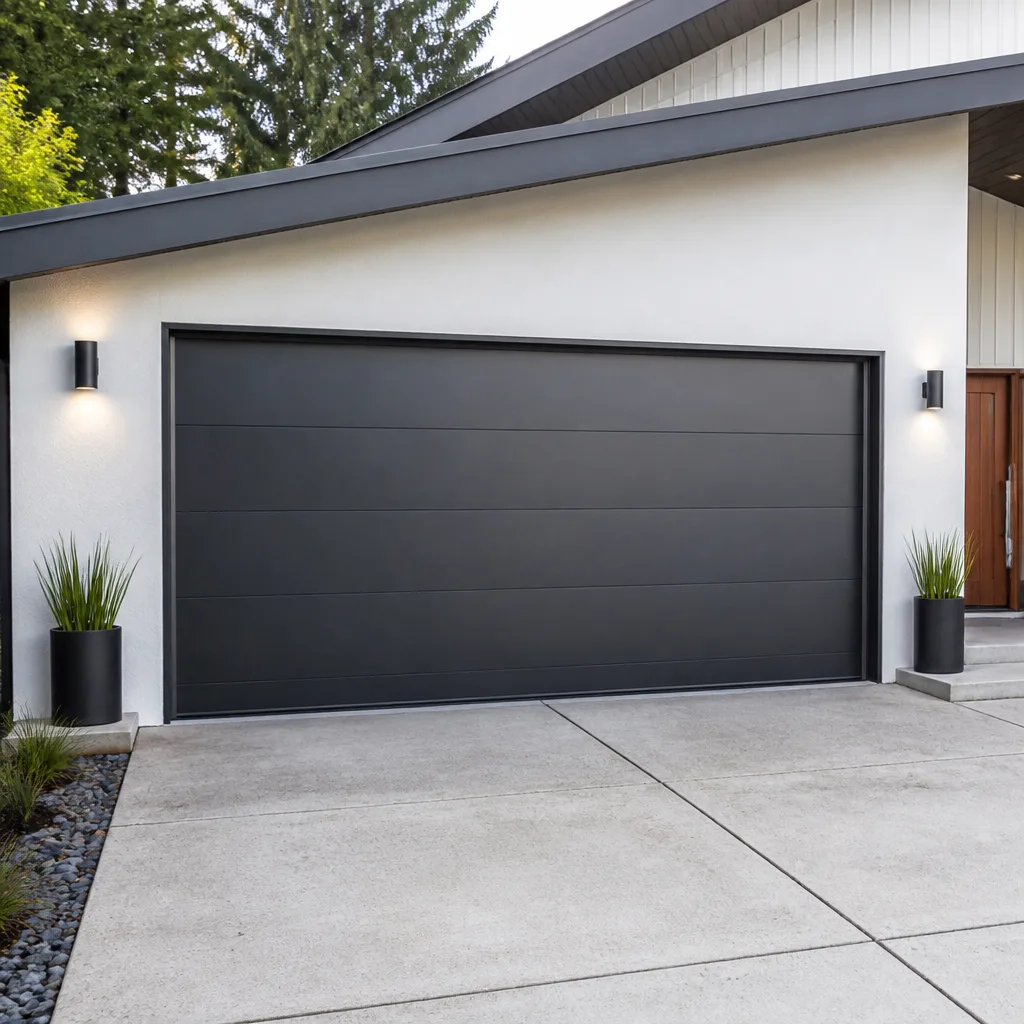 Modern flush
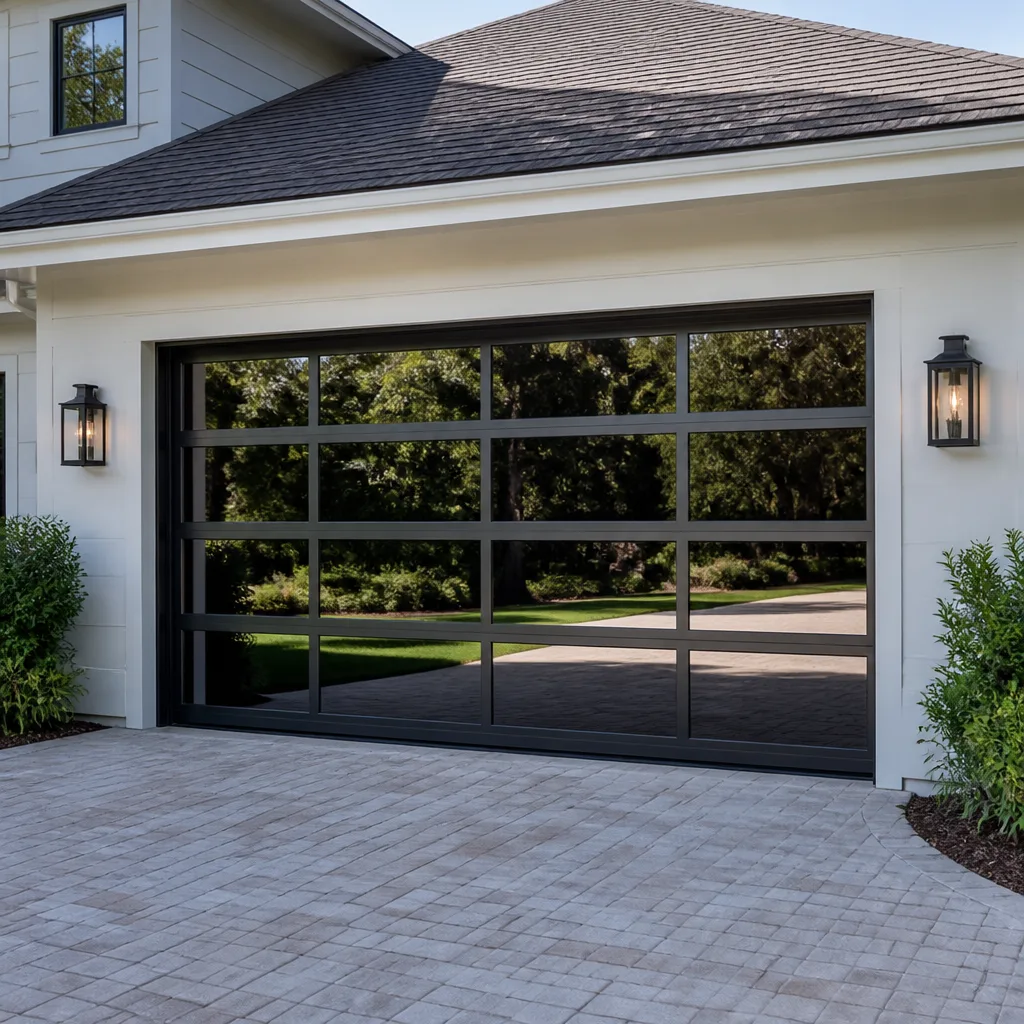 Full-view glass
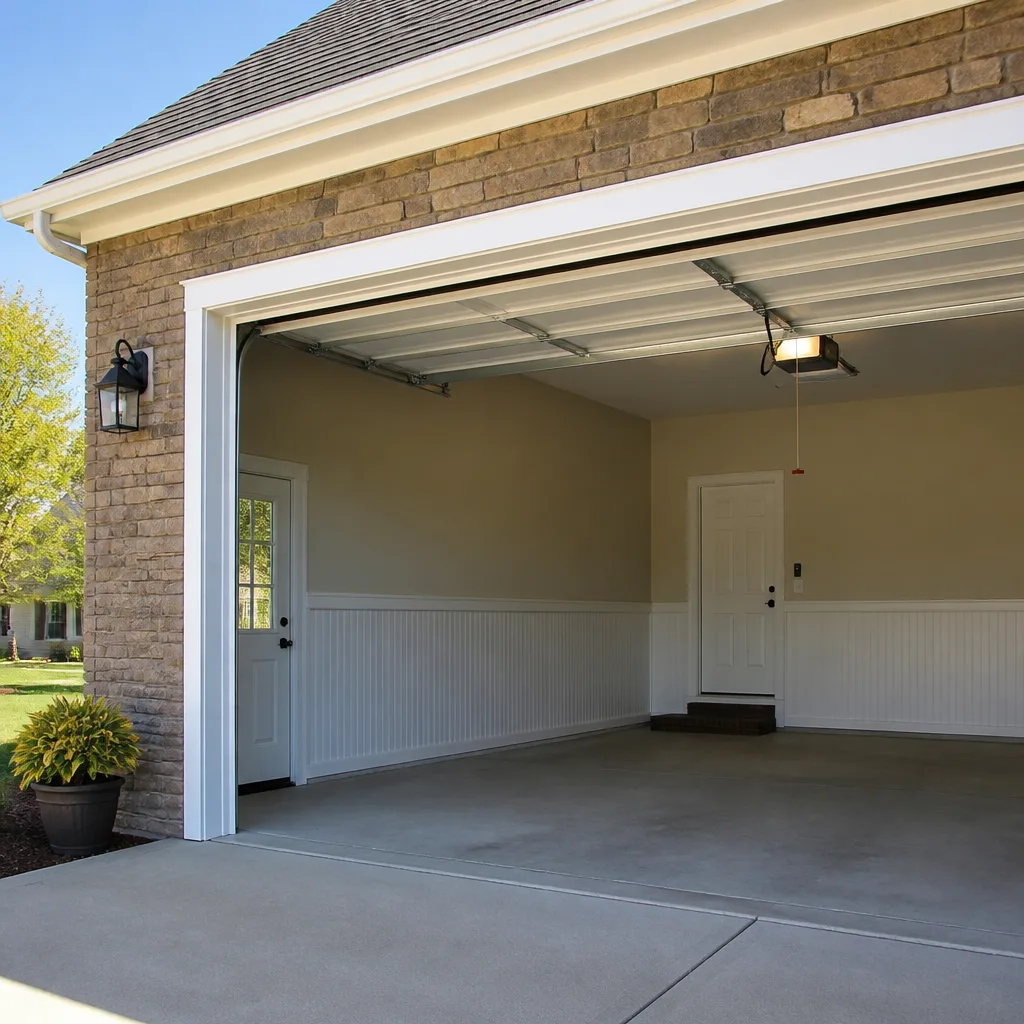 LiftMaster openers
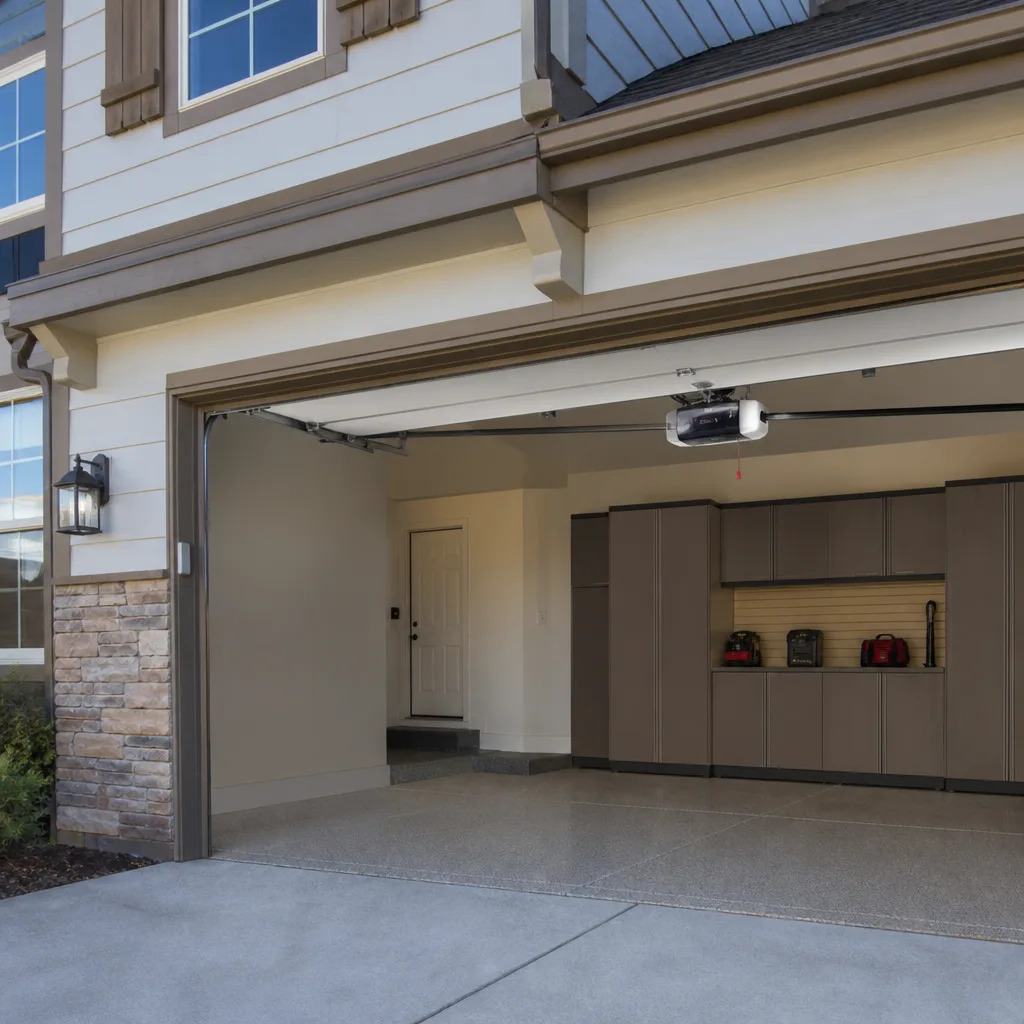 Chamberlain openers
Full 25-point door and opener safety check with every visit - springs, cables, rollers, tracks, and your LiftMaster or Chamberlain opener included
You get a price before we start. It does not change when the truck arrives.
Get your free estimateGarage Door Repair Maintenance Checklist for Jurupa Valley Homeowners
Most garage door breakdowns in Jurupa Valley don’t happen because parts wear out on schedule. They happen because small, catchable problems get ignored for months until something snaps, strips, or burns out on a Sunday morning when you can’t get your car out. The frustrating part is that a ten-minute monthly walkaround would catch most of them. We’ve pulled emergency calls from every part of Jurupa Valley, from Mira Loma to Pedley to the hills off Limonite Avenue, and the pattern is consistent: the homeowner noticed something “felt off” weeks earlier but didn’t know what to check. This guide fixes that. You’ll get a sequenced maintenance checklist built around what actually fails in this climate, which tasks you can safely do yourself, and where to draw the line and call a Garage Door Repair specialist.
Quick Answer
A proper garage door maintenance routine for Jurupa Valley homes breaks into three tiers: a monthly five-minute visual and operational check, semi-annual lubrication and balance testing, and an annual deep inspection of seals, hardware, and opener force settings. The most important DIY tasks are keeping photo-eye sensors clean and aligned, keeping tracks free of the fine dust that Jurupa Valley’s dry, windy season blows into everything, and testing spring balance with the door in manual mode. Any task involving torsion springs, cables, or opener force adjustments should be left to a trained technician.
Styles & brands we work with
- Raised-panel steel
- Carriage house
- Modern flush
- Full-view glass
- LiftMaster openers
- Chamberlain openers
Table of Contents
- Monthly Checklist: The Five-Minute Walkaround
- Semi-Annual Checklist: Lubrication and Balance Testing
- Annual Checklist: Seals, Hardware, and Opener Settings
- Dust and Debris Management for Jurupa Valley’s Dry Season
- How to Test Spring Balance Without Touching the Springs
- Weatherstripping Inspection for Wide Temperature Swings
- DIY vs. Professional: Where the Line Is
- Common Mistakes to Avoid
- When to Call a Professional
- Frequently Asked Questions
Monthly Checklist: The Five-Minute Walkaround
This is the tier that catches the most problems, and it’s the one most homeowners skip. The goal is not to fix anything. The goal is to notice changes. A garage door that’s starting to fail gives off warning signs long before it stops working, and a monthly check makes those signs obvious. Do this on the first Saturday of every month, or tie it to whatever monthly routine you already keep.
What to Check Every Month
- Listen during one full open-close cycle. Stand inside the garage with the door closed and press the opener. A healthy door in Jurupa Valley should produce a low, even hum from the opener and a soft rumble from the rollers. Grinding, squealing, popping, or thumping sounds are early warnings. A single pop that you can feel in the floor usually means a spring is about to go.
- Watch the door movement from outside. Stand in the driveway and watch the door go up and down. It should move at a constant speed with no pauses, hesitations, or jerks. If one side rises slightly faster than the other, that’s a balance or track issue. If the door shudders halfway up, check for debris in the tracks.
- Check the photo-eye sensors. These are the two small units mounted near the floor on either side of the door opening. Both should have a solid green or red indicator light, depending on brand. If one light is blinking or dark, wipe the lens with a dry microfiber cloth. In Jurupa Valley, especially during the Santa Ana wind months, a fine layer of dust settles on these lenses within two to three weeks. A dirty sensor is the single most common cause of a door that reverses for no reason or refuses to close.
- Look for fresh wear on cables and rollers. You don’t need to touch anything. From a safe distance, look at the cables that run up both sides of the door. They should be taut and free of frays, rust, or a fuzzy appearance. Rollers should sit fully inside the tracks, not riding on the edge or wobbling. If a cable looks even slightly frayed, stop using the door and call a professional. A snapped cable under tension is dangerous.
- Check the opener’s reversal mechanism. Place a roll of paper towels or a 2×4 flat on the ground under the door’s path. Close the door. It should reverse within about two seconds of contacting the object. If it doesn’t, the force setting is too high. This is a safety check, not a convenience check. Every opener sold in the last 30 years is required to have this feature, but force settings drift over time.
This entire walkaround takes less than five minutes once you know what you’re looking at. The payoff is catching cheap fixes before they become expensive ones. A dirty sensor is a thirty-second wipe. A snapped torsion spring is a same-day emergency call. Both start as the same five-minute check.
Semi-Annual Checklist: Lubrication and Balance Testing
Twice a year, in spring and fall, your garage door needs a mechanical service that goes beyond visual inspection. This is where you address friction, which is what kills rollers, hinges, and opener gears over time. The spring and fall timing aligns with Jurupa Valley’s seasonal shifts: spring prepares the door for summer heat expansion, fall prepares it for winter cold contraction and the windy season’s dust load.
What to Lubricate (and What to Skip)
The most common lubrication mistake we see is spraying the wrong product on the wrong part. Garage door systems need two different types of lubrication, not one spray-everything approach.
- Rollers (metal rollers only): Apply a silicone-based or lithium-based garage door lubricant to the ball bearings inside each roller. You’re lubricating the bearing, not the wheel surface. If the rollers are nylon with no exposed bearings, skip them. If you have nylon rollers that have been in service for years and haven’t been replaced, the bearings inside are likely dry. This is a good time to consider replacement rather than lubrication, because sealed nylon roller bearings can’t be re-greased.
- Hinges: Apply one short spray to each hinge pivot point, where the metal plates meet. Wipe away excess. Hinges should move freely without being wet. Too much lubricant attracts dust, and in Jurupa Valley, dust is the enemy.
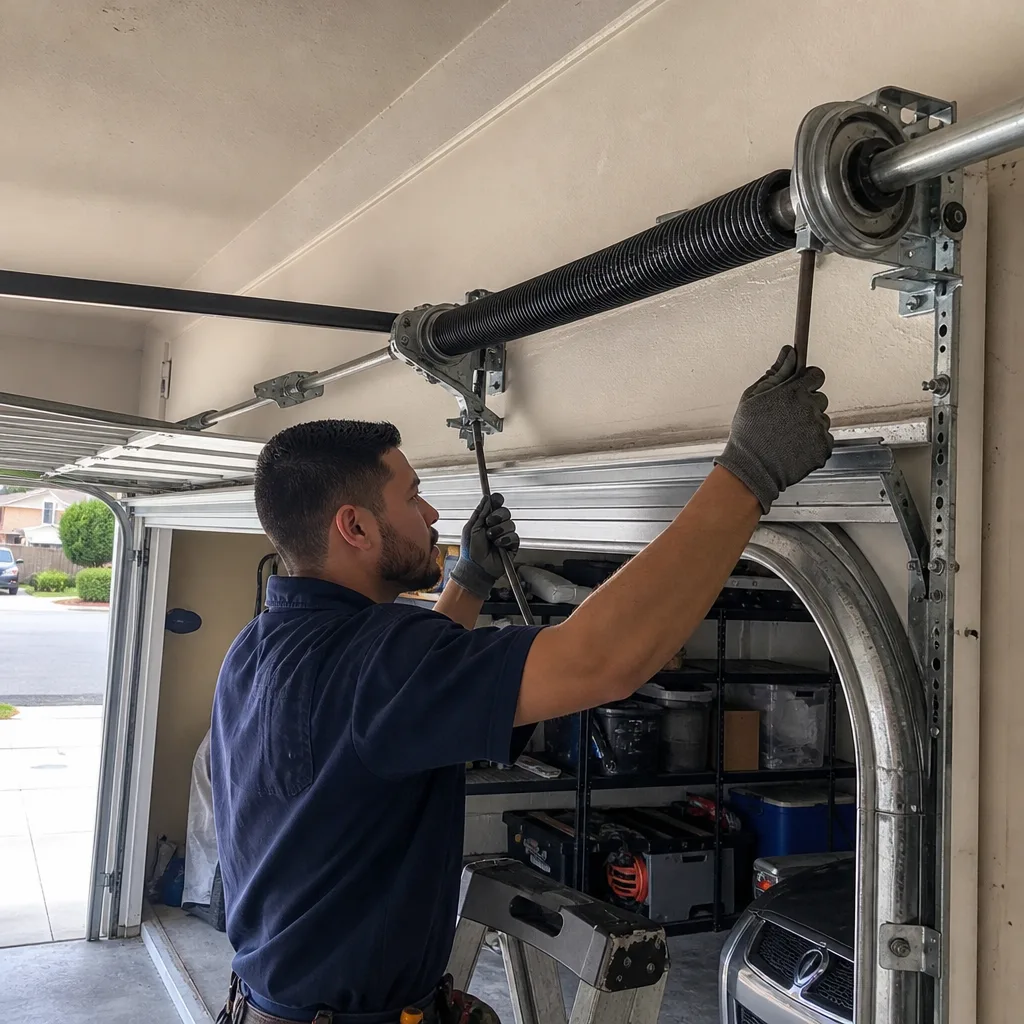
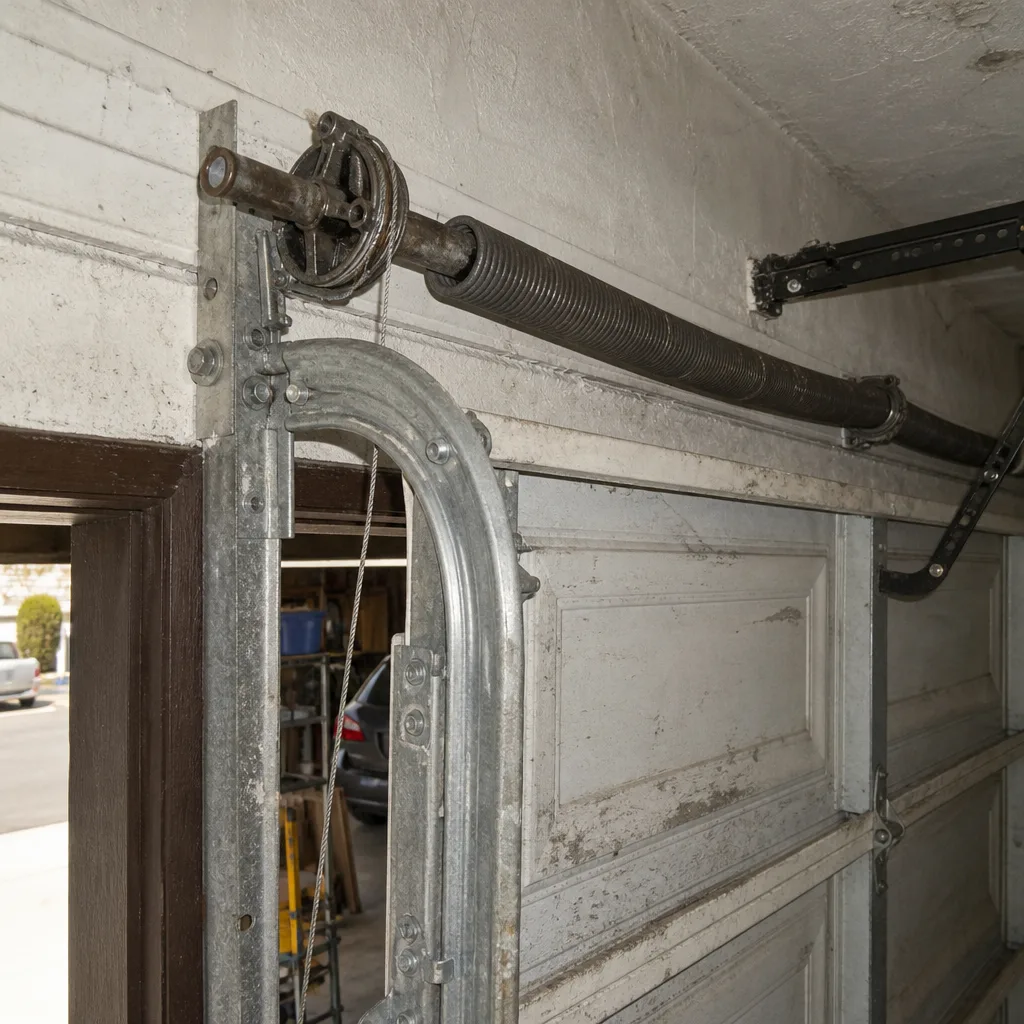
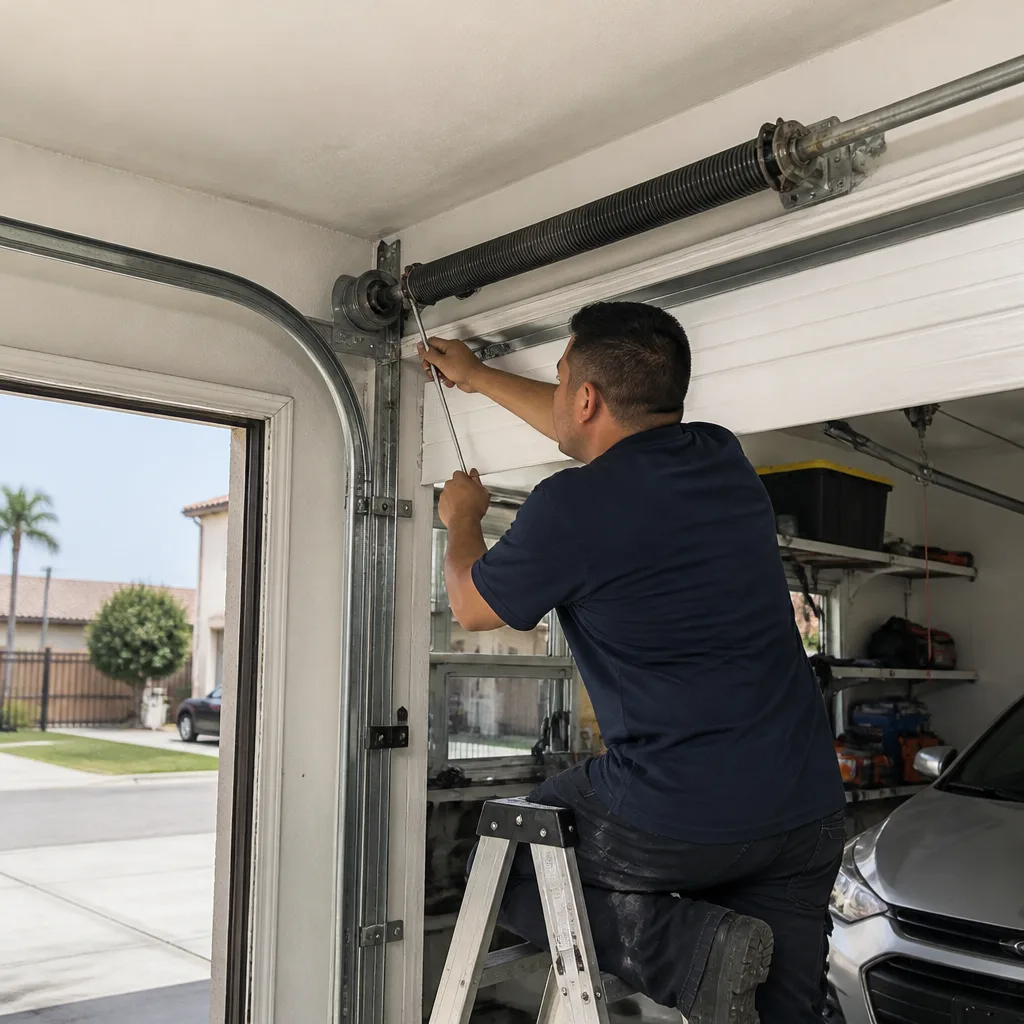
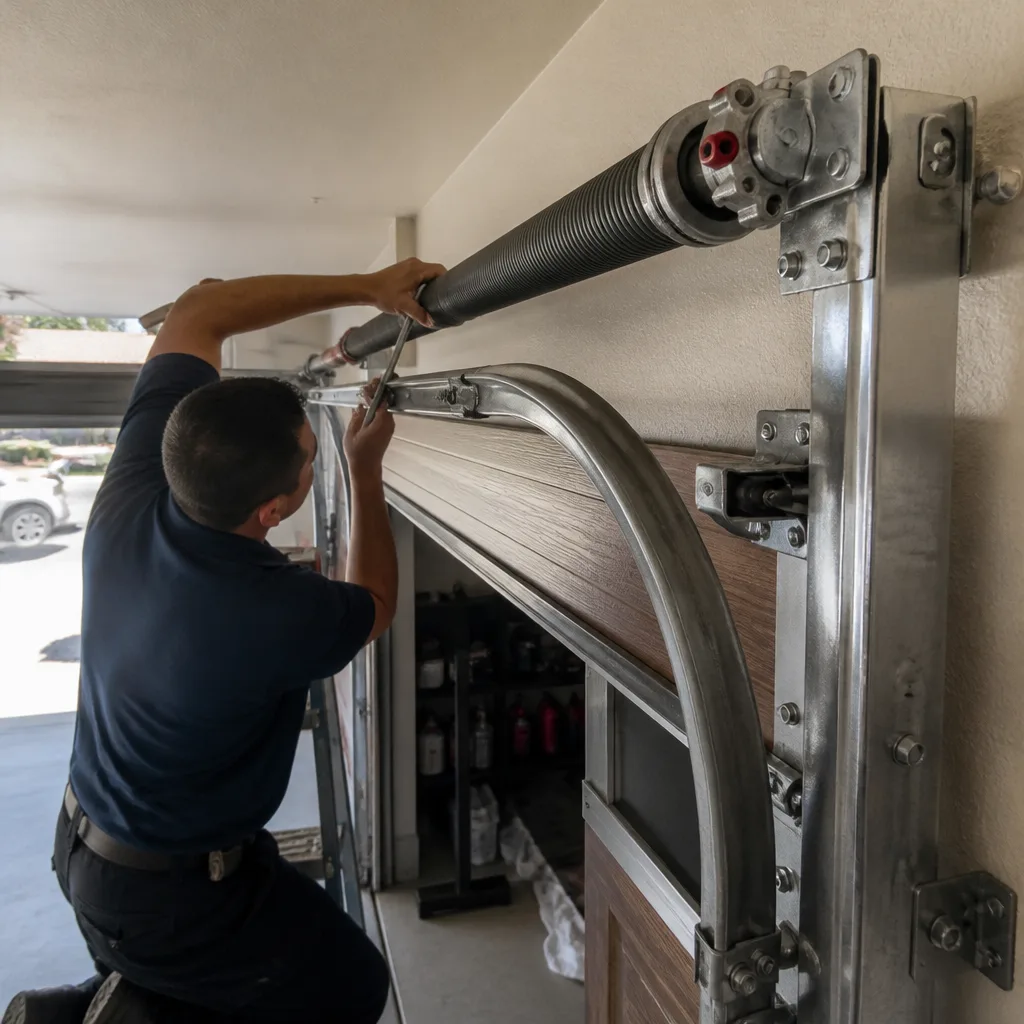
- Torsion spring (the coil above the door): Apply a light coat of garage door lubricant directly to the spring coil. The goal is to coat the metal surface to prevent rust, not to soak it. One pass along the length of the spring is enough. Do not touch the spring with your hands. Use the spray straw from a safe distance. A torsion spring under tension stores enough energy to cause serious injury or death if it snaps. The lubrication is for rust prevention, not flexibility.
- Bearing plates and end bearings: The steel bearings at each end of the torsion tube need the same light lubricant as the spring. These are located where the torsion bar meets the wall-mounted plates.
What to skip: Do not lubricate tracks. Garage door tracks are not designed to be greased. Greasy tracks attract dust and grit, which grinds down rollers and creates friction. If your rollers are having trouble in the tracks, the problem is almost always a track alignment issue, a bent track section, or worn rollers, not dry tracks. Clean tracks with a dry rag and, when needed, a mild household cleaner that doesn’t leave residue.
Do not lubricate the opener chain or belt. Belt-driven openers are factory-lubricated and should never be oiled. Chain-driven openers benefit from a very light coat of white lithium grease once a year, but only if the chain is dry. If you’re not sure, skip it. A chain caked in grease is worse than a dry chain because it flings lubricant onto everything above the door.
After lubricating, run the door through two full open-close cycles to distribute the lubricant. Wipe any drips from the door surface, especially if your door faces west and gets the full afternoon sun. Lubricant baked onto a hot Clopay or Amarr door panel in August is difficult to remove.
Annual Checklist: Seals, Hardware, and Opener Settings
The annual inspection is the deep dive. It’s the tier that catches slow-developing problems that monthly and semi-annual checks miss because they change gradually. Set aside thirty minutes once a year, ideally in October or November before the holiday season and the cold months when your door gets the most use in the morning.
Bottom Weather Seal
The rubber strip along the bottom of the door is what keeps out dust, water, and rodents. In Jurupa Valley’s dry climate, the seal fails by cracking and hardening, not by rotting. Push your finger into the seal in several spots along the width of the door. A healthy seal is flexible and rebounds. A failed seal feels rigid, shows visible cracks, or allows daylight through when the door is closed. A failed bottom seal lets in fine dust during every windy day, and it’s the number one reason homeowners find a layer of grit on everything stored along the back wall of the garage. Replacement seals are inexpensive, and for most doors, it’s a slide-in retrofit that takes a technician about twenty minutes.
Side and Top Weatherstripping
The flexible strips that run along the door’s side edges and across the top do the same job on the perimeter. Check them for cracks, gaps, and loose fasteners. In Jurupa Valley, the combination of summer heat and winter morning cold causes these strips to shrink and pull away from the jamb slightly. A half-inch gap doesn’t look like much, but it’s an open invitation for dust, spiders, and cold air. If you can see daylight around the door’s edges, the seal needs attention.
Hardware Tightening
Garage doors move hundreds of times a year, and every cycle vibrates every bolt, nut, and screw. Using a socket set or wrench, check the tightness of:
- The lag bolts mounting the track brackets to the wall.
- The bolts on the horizontal track sections where they meet the curved sections.
- The hinge bolts on the door panels.
- The bolts holding the opener rail to the ceiling brackets.
Hand-tighten anything that’s loose. Do not over-torque. These are not engine-head bolts. If a bolt repeatedly loosens, it usually means the hole is stripped from thermal expansion cycles, and the fix is a slightly larger lag or a new bracket, not more torque.
Opener Force and Travel Settings
All modern openers, including LiftMaster, Chamberlain, Genie, and Craftsman models, have adjustable force and travel limit settings. These settings control how far the door travels and how much resistance the opener pushes through. Over time, as springs lose tension, the opener compensates by working harder. This is the beginning of the end for the opener motor. Check the force setting by running the reversal test described in the monthly section. Also check that the door stops flush with the floor and fully opens to the correct height. If the door doesn’t open all the way or slams at the bottom, the travel limits have drifted. These adjustments are brand-specific, and the wrong setting can damage the door or create a safety hazard. If you’re not comfortable reading your opener’s manual and making the adjustment, a garage door opener repair in Jurupa Valley call is the safer route.
Dust and Debris Management for Jurupa Valley’s Dry Season
Jurupa Valley has a dust problem that other parts of California don’t understand. The dry, windy season from roughly September through December pushes fine particulate into every gap, crack, and crevice, and garage door tracks are one of the most vulnerable points on the house. The dust that enters the garage through the door opening settles directly into the roller tracks, where it mixes with whatever lubricant is present and forms an abrasive paste.
This paste is what causes the grinding sound you hear on older doors that have been neglected. It’s not the rollers wearing out. It’s the rollers being sanded down by the dust caught in the track. Nylon rollers wear smooth spots. Metal rollers develop flat spots. Both conditions lead to vibration, noise, and eventually a roller that pops out of the track or a hinge that binds.
How to Manage Dust in Your Tracks
- Vacuum the tracks monthly during windy season. A standard shop vac with a narrow attachment reaches most track sections. Run it along both vertical tracks, the curved sections, and the horizontal track runs. This removes loose dust before it has a chance to mix with lubricant.
- Wipe the tracks with a dry microfiber cloth. After vacuuming, wipe the interior track surface. The goal is to remove the dust that’s clinging to the metal. Do not use water. Do not use household cleaning products. Water accelerates rust on the galvanized track surface, and cleaning products leave residue that attracts more dust.
- Check the track-roller contact point. After cleaning, look at the point where the roller wheel contacts the track. There should be a clean wear line. If the line is rough, pitted, or has debris embedded, the track needs deeper cleaning or the rollers need replacement. A rough track surface will destroy new rollers within months.
- Address the dust source at the floor. If you’re getting excessive dust in the tracks along with dust on your stored items, the problem is the bottom seal. Replace it. This is not a track problem. It’s a seal failure allowing dust through the largest gap in the system.
Homes on the northern edge of Jurupa Valley, in the areas that border open land toward the Santa Ana River, get more dust than homes in the more developed central areas. Homes with west-facing doors get more afternoon wind. If you’re in one of these areas, consider checking tracks every two weeks during windy season instead of monthly.
How to Test Spring Balance Without Touching the Springs
Spring balance is the single most important indicator of garage door health, and it’s the thing most checklists get wrong. You do not need to touch, inspect, or go anywhere near the torsion springs to test balance. The test is done through the door itself. Here’s the procedure.
The Balance Test Procedure
- Close the door completely. The door should be in the fully closed position, resting on the floor.
- Pull the emergency release cord. This is the red cord hanging from the opener rail. Pull it straight down and toward the door. This disconnects the door from the opener carriage, putting the door into manual mode. You should be able to move the door by hand after this step.
- Lift the door halfway. Grip the door handle or the bottom edge and lift it to approximately waist height, then let go. Your hands should be off the door completely for the test to mean anything.
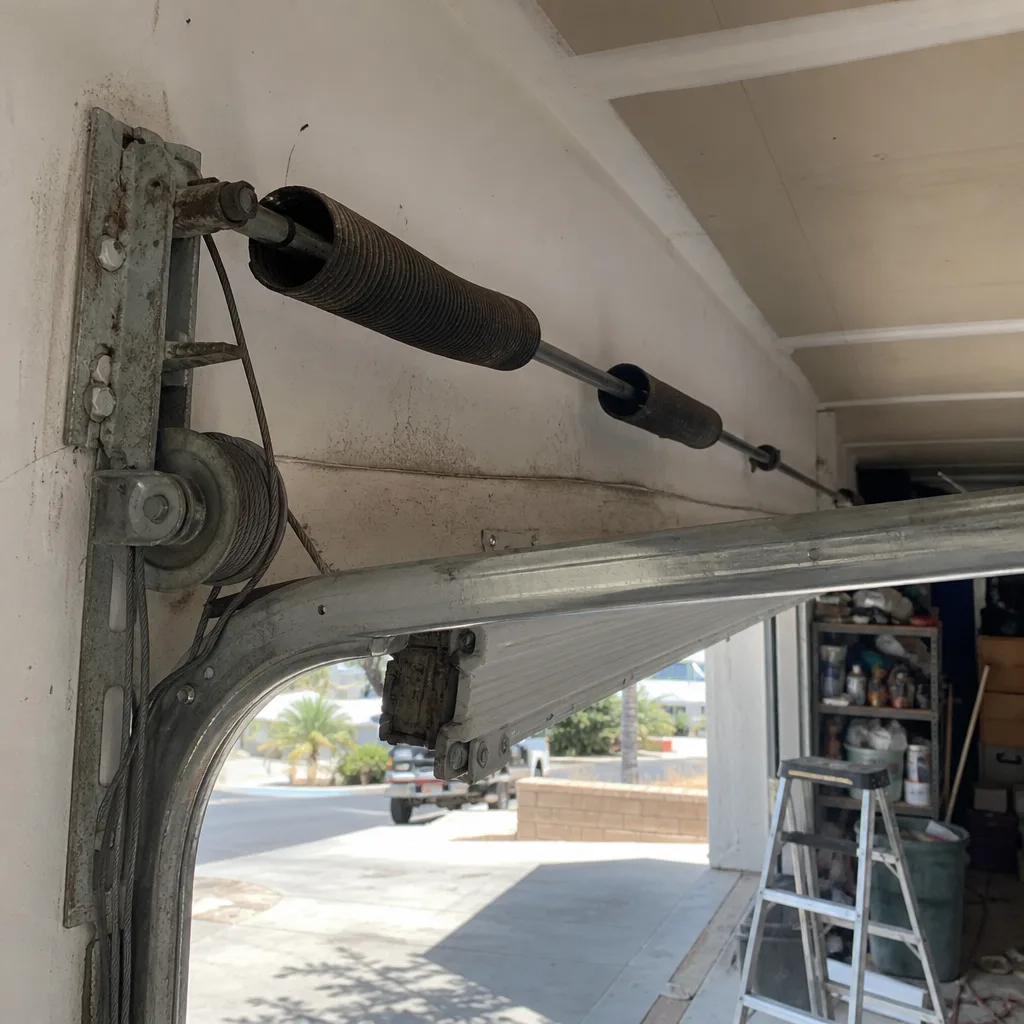
- Observe what happens. A properly balanced door stays exactly where you release it. It doesn’t climb, and it doesn’t fall. If the door slowly drifts up, the springs are overwound or the door is too light for the spring rating. If the door slowly falls, the springs are losing tension. If the door drops quickly or slams, a spring has failed or is near failure.
- Test at two more positions. Lift the door to three-quarters open and release. Then lower it to one-quarter open and release. A balanced door should hold at all three positions. A door that holds at the midpoint but falls from the top has a different problem than a door that falls from every position. The specific failure point tells a technician exactly what’s going on with the spring system.
- Reconnect the door to the opener. Pull the emergency release cord again, this time pulling it toward the opener motor. Run the opener through one cycle. The carriage should re-engage with the door automatically.
This test is completely safe when done as described. You never touch the springs, never put your hands near the cables, and never stand under the door while testing. If the door fails the balance test in any position, stop using it and call for spring service. An unbalanced door forces the opener to work against the spring tension, which is what burns out opener motors. The spring replacement is a $200 to $400 repair. The opener replacement is $300 to $600. The balance test is free and takes three minutes.
Weatherstripping Inspection for Wide Temperature Swings
Jurupa Valley experiences a temperature range that’s harder on garage door seals than what coastal California homes deal with. Summer afternoons regularly hit the high 90s and low 100s. Winter nights can drop into the 30s. That’s a 60-plus-degree swing across the year, and the expansion and contraction from that cycle is what destroys seals, not rain or sun alone.
Rubber and vinyl weatherstripping compounds are formulated to flex, but they all have a temperature range. Outside that range, they stiffen. The repeated stiffening and softening cycle creates micro-cracks that eventually become visible cracks. Once a crack forms, the seal loses its compression, and gaps open up. The gap is what matters. Here’s how to inspect correctly.
Inspection Criteria
- Check compression at multiple points. With the door closed, run your hand along the seal where it meets the door. There should be gentle, consistent pressure. If one section feels loose or you can see light through a gap, that section has failed even if the rubber looks fine.
- Look for hairline cracks in the fold lines. The bottom seal folds and flexes every time the door opens and closes. Cracks almost always appear first in the fold, not on the flat surface. Bend the seal slightly with your fingers to expose the fold. If you see cracks, the seal is nearing the end.
- Check for shrinkage gaps at the corners. The bottom seal fits into a T-shaped channel or a slide-in retainer. Over years of thermal cycling, the seal shrinks slightly. The first place this shows is the corners, where the seal pulls back from the door edge by a quarter-inch or more. This is a classic Jurupa Valley failure pattern, and it’s easy to miss if you only look at the middle of the door.
- Evaluate the top seal with the door closed. Stand inside the garage with the door closed and the lights off. Look up along the top edge of the door. If you can see daylight, the top seal has failed. This matters in Jurupa Valley more than homeowners expect because the same gap that lets light in lets dusty air in during the windy season.
Seal replacement is one of the lowest-cost garage door repairs, and it’s one of the most effective ways to keep a garage clean and reduce the load on your home’s heating and cooling. If the seal is cracked, shrunken, or not compressing, replace it. This is a simple fix that any garage door repair service in Jurupa Valley can do quickly.
DIY vs. Professional: Where the Line Is
This is the section that separates a truly useful checklist from the generic ones. Most checklists imply that everything is within the homeowner’s ability. That’s not accurate, and it’s potentially dangerous. Here’s the honest breakdown.
Safe DIY Tasks
- Cleaning photo-eye sensor lenses with a dry cloth.
- Vacuuming and wiping tracks.
- Lubricating rollers, hinges, and springs from a safe distance.
- Testing spring balance with the door in manual mode.
- Tightening accessible hardware.
- Inspecting seals for visual wear.
- Running the reversal safety test.
Stop and Call a Professional
- Any task that requires touching the torsion springs. The torsion spring above the door is under several hundred pounds of tension even when the door is closed. If a spring snaps while you’re near it, the consequences can be severe. Spring repair is never a DIY task.
- Any cable repair or replacement. The cables run from the springs to the bottom brackets and carry the spring’s tension. If a cable has frayed, it can snap while you’re looking at it. If a cable has already snapped, the door is unbalanced and dangerous to move.
- Track repair or realignment. Bent tracks can often be straightened in place by a technician with the right tools. A homeowner attempting to bend a track usually makes the problem worse and can create a roller-derailment hazard.
- Opener force or travel setting changes you’re not certain about. A force setting that’s too high defeats the safety reversal system. This is not an adjustment to guess at.
- Any work that requires lifting the door off its tracks. A sectional door can weigh 150 to 300 pounds. Once off its tracks, it’s unmanageable for one person and dangerous for two.
The line is not about skill. It’s about energy and consequence. A mistake made while cleaning sensors costs nothing. A mistake made while working near a torsion spring can be life-altering. We’ve seen doors come off their tracks in Jurupa Valley homes where the homeowner tried to “just adjust” the tension. The repair after a DIY attempt is always more expensive than the original fix would have been.
Common Mistakes to Avoid
- Lubricating the tracks. This is the most common mistake we see in Jurupa Valley garages. Household lubricants like WD-40 are not designed for garage door tracks, and they attract dust. A greased track turns into sandpaper within one windy season. Tracks should be clean and dry.
- Using the wrong lubricant on the springs. Motor oil, axle grease, and household spray lubricants all have the same problem: they’re too heavy and they collect dust. Use a purpose-made garage door lubricant that dries to a non-tacky film. The goal is rust prevention, not heavy lubrication.
- Skipping the reversal test because the door “seems fine.” The reversal system is a safety device, not a performance feature. A door that doesn’t reverse on contact is dangerous to every person and pet in the household. Test it every month. The test takes twenty seconds.
- Ignoring a noisy door. A door that’s getting louder is trying to tell you something. The grinding of dust-laden tracks, the pop of a failing spring, the rattle of loose hardware. All of these are early warnings. None of them fix themselves. In Jurupa Valley’s dry climate, noise almost always means friction, and friction means wear.
- Replacing the opener when the springs are the problem. When a door struggles to open, homeowners often assume the opener is weak. More often than not, the springs have lost tension and the opener is trying to do the lifting. A professional diagnosis prevents replacing a working opener. A garage door opener repair call should start with checking spring balance, not condemning the motor.
- Attempting spring work with improvised tools. There is no safe improvisation for torsion spring work. Winding bars are purpose-built tools, and even with the right tools, the work requires training and experience. If you’re considering this task, stop and call a professional.
- Skipping maintenance until something breaks. The entire purpose of this checklist is that maintenance is cheaper than repair. A $15 bottle of lubricant and ten minutes a month prevents a $250 spring replacement or a $400 opener replacement. The math works out every time.
When to Call a Professional
Some situations are not checklist items. They’re stop-and-call moments. If your door makes a loud bang and stops moving, a spring has snapped. Do not try to open the door manually, and do not attempt to reset the opener. If the door hangs unevenly, one side higher than the other, a cable has likely slipped or broken. If the door comes off its tracks, do not attempt to lift it back. If the opener runs but the door doesn’t move, the drive mechanism has failed. If you smell burning plastic from the opener unit, unplug it. Each of these scenarios is a same-day repair call, not a maintenance task.
Briarwood Garage Door Repair offers free estimates in Jurupa Valley. Our team works on every major brand, including Clopay, Amarr, Wayne Dalton, and Craftsman, so whatever is on your door, we know it. Call (866) 569-5176.
Frequently Asked Questions
Twice a year is the standard interval for roller, hinge, and spring lubrication in Jurupa Valley. If you live in a high-dust area or your door faces west into the prevailing wind, consider a third lubrication in late summer. The key is using a dry-film garage door lubricant, not a heavy oil, because heavy products attract dust.
Yes, you can test spring balance without touching the springs. Put the door in manual mode using the emergency release cord, lift it halfway, and release. A balanced door stays in place. If it falls, the springs need attention. Testing is safe. Repairing springs is never a DIY task.
A professional garage door tune-up in Jurupa Valley typically runs between $75 and $150, depending on the door size and condition. Most technicians include lubrication, hardware tightening, balance testing, and safety inspection in that price. Call (866) 569-5176 for an exact quote. Estimates are free, and the price is always agreed before work starts.
The most common cause in Jurupa Valley is dust on the photo-eye sensor lenses. Wipe both lenses with a dry microfiber cloth and try again. If the problem persists, the sensors may be misaligned, or the opener’s force settings may have drifted. Both are simple fixes for a professional.
Standard torsion springs are rated for 10,000 cycles, which translates to about seven to ten years for a typical Jurupa Valley household that opens and closes the door three to four times a day. Heavier doors and more daily cycles shorten the lifespan. If your springs are over seven years old and failing the balance test, plan for replacement before they snap.
If the panels are structurally sound, the answer is yes. Regular maintenance on an older door extends its life, and replacement springs, rollers, and seals are far cheaper than a new door. When the panels themselves start cracking, warping, or delaminating, that’s the threshold for considering a garage door installation in Jurupa Valley.
The Bottom Line
A garage door is the largest moving object in your home, and it’s one of the few that operates dozens of times a week without you thinking about it. The maintenance it needs is not complicated. Five minutes a month. Thirty minutes twice a year for lubrication and balance testing. One deeper inspection annually. What makes the difference in Jurupa Valley is doing the tasks consistently and paying attention to the local factors: the dust, the temperature swings, and the wind. Catch a dirty sensor early and you’ve saved yourself a service call. Notice a frayed cable before it snaps and you’ve avoided a dangerous failure. The checklist works if you use it.
If your maintenance turns up something that needs a professional’s hand, Briarwood Garage Door Repair home is one call away. We work on garage doors and openers exclusively, across every major brand. Garage doors are all we do, so we do them right. Call (866) 569-5176 for a free estimate in Jurupa Valley.
Written by the team at Briarwood Garage Door Repair, serving Jurupa Valley since 2018. For more guides & resources, visit our blog.
See the difference
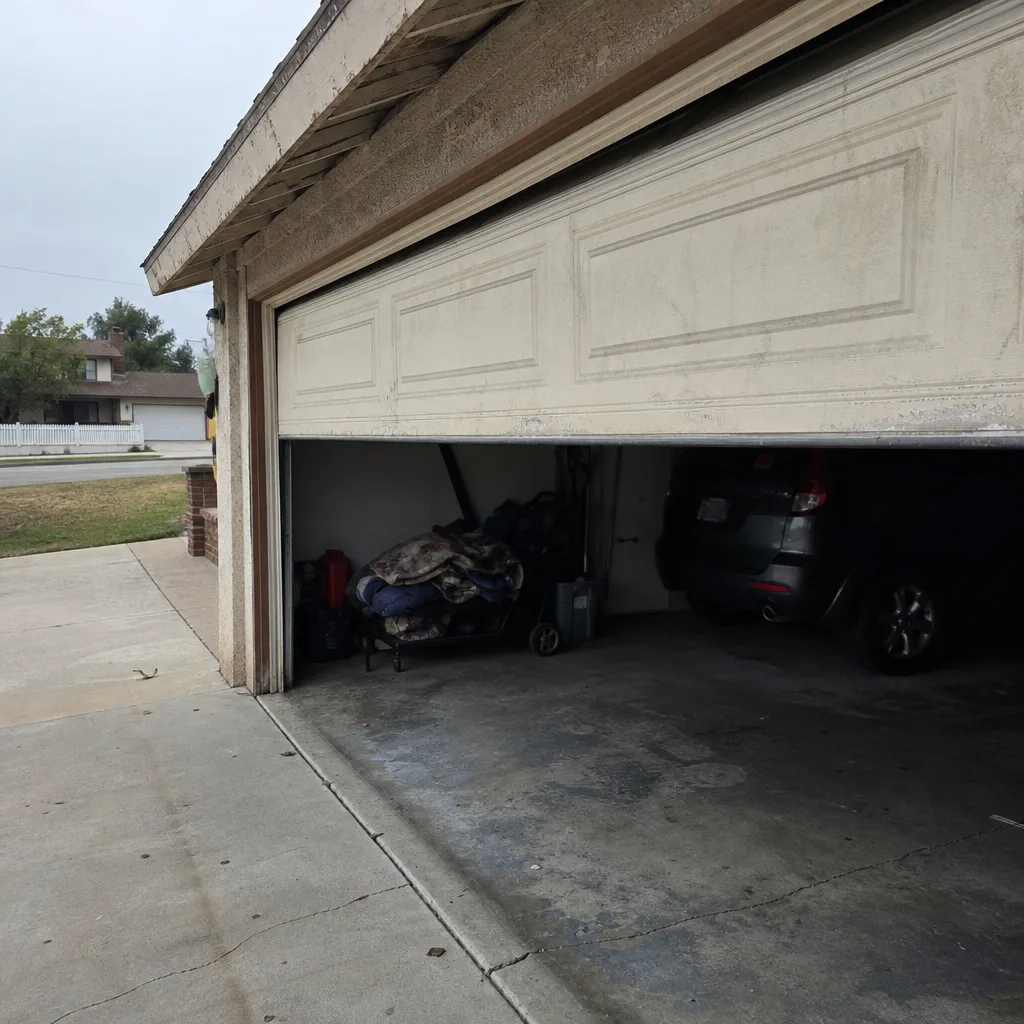 Before
 After
 Before
 After
 Before
 After