
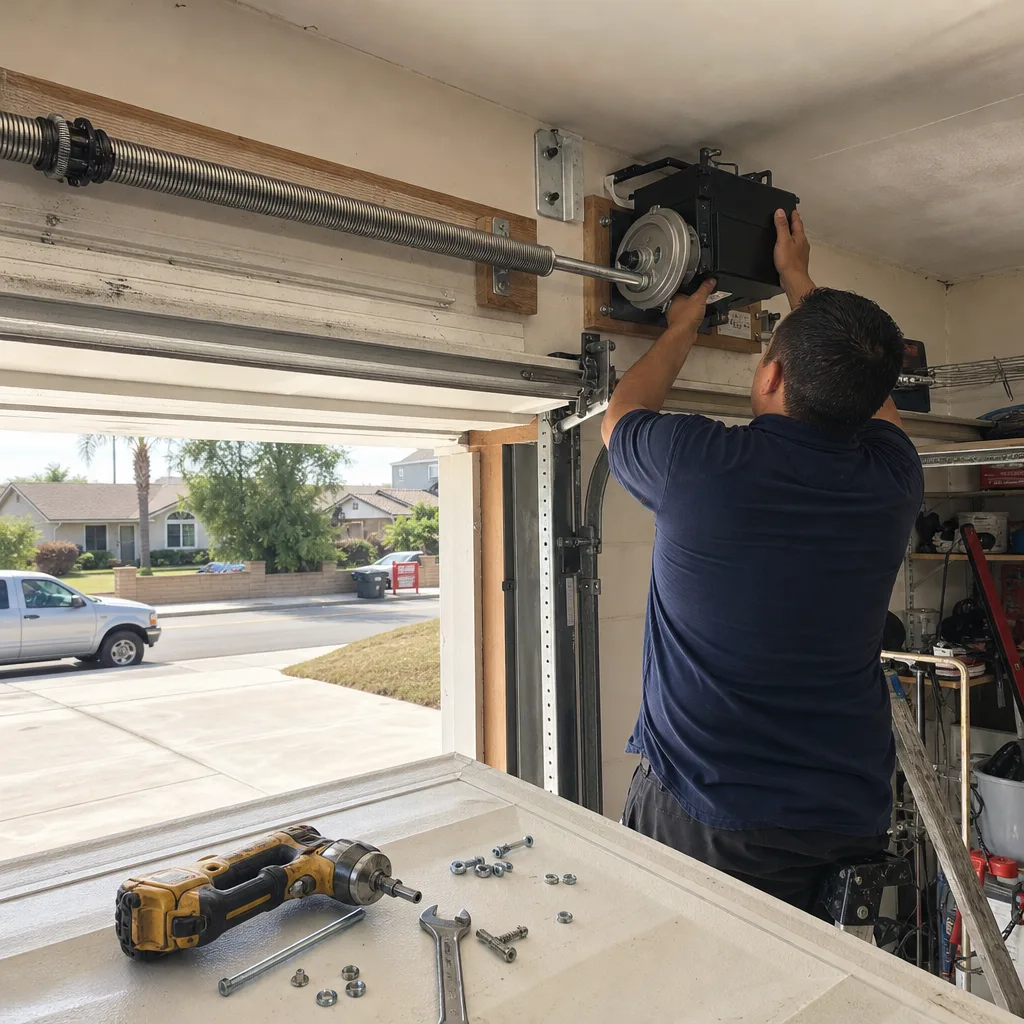
Last updated November 2, 2026
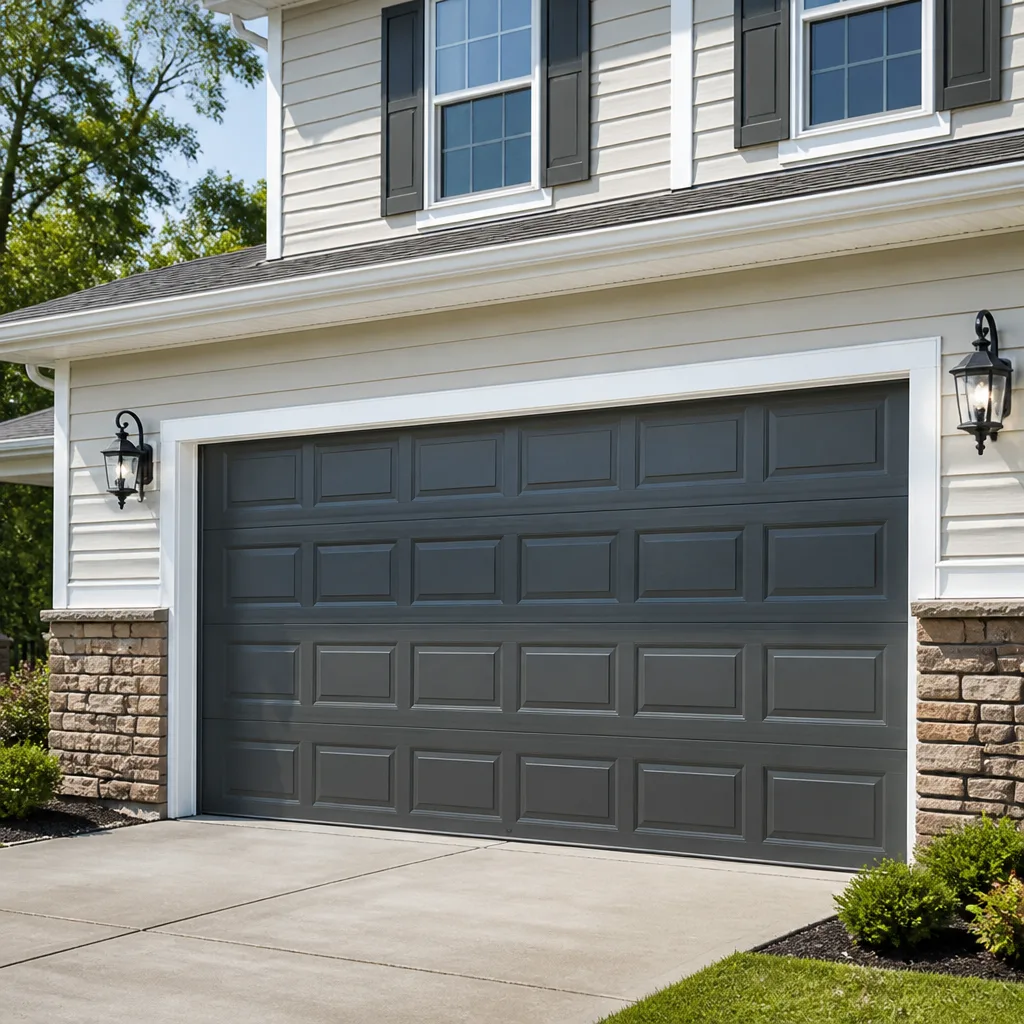 Raised-panel steel
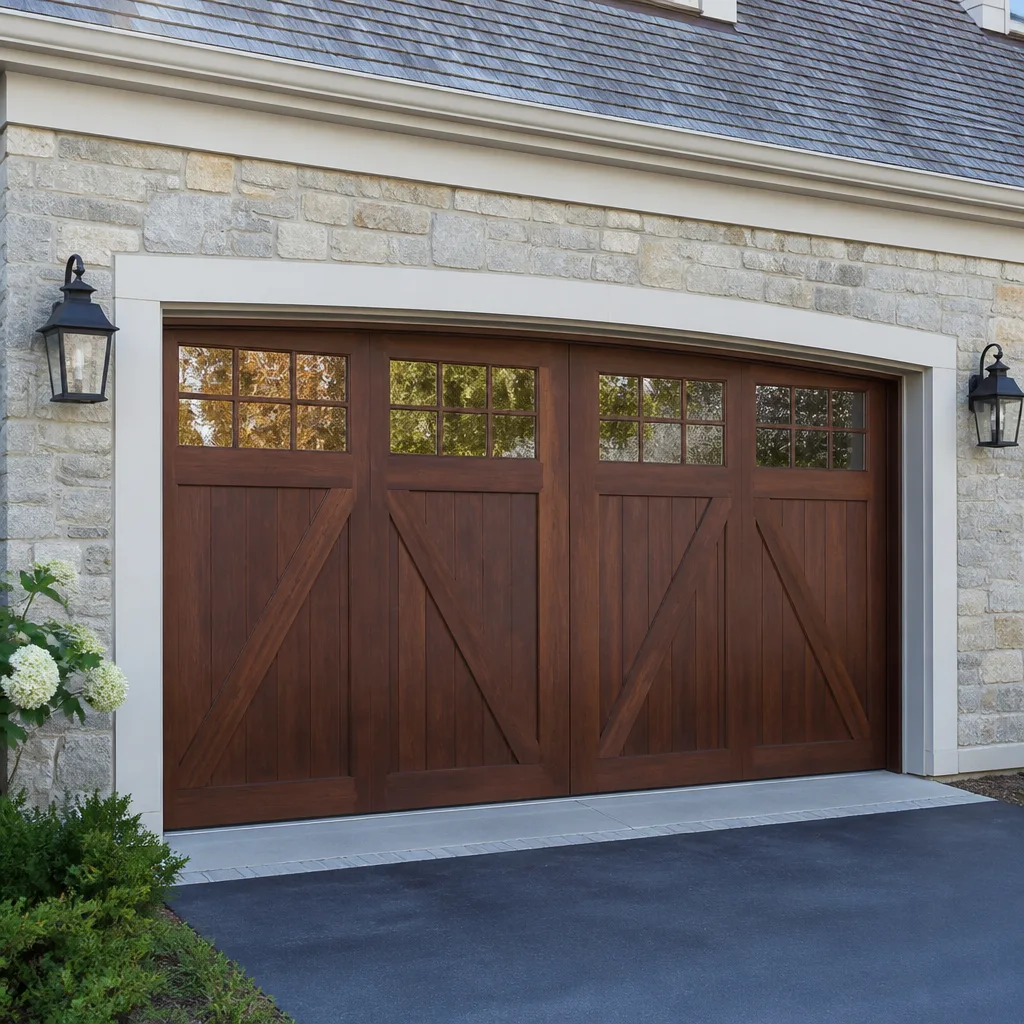 Carriage house
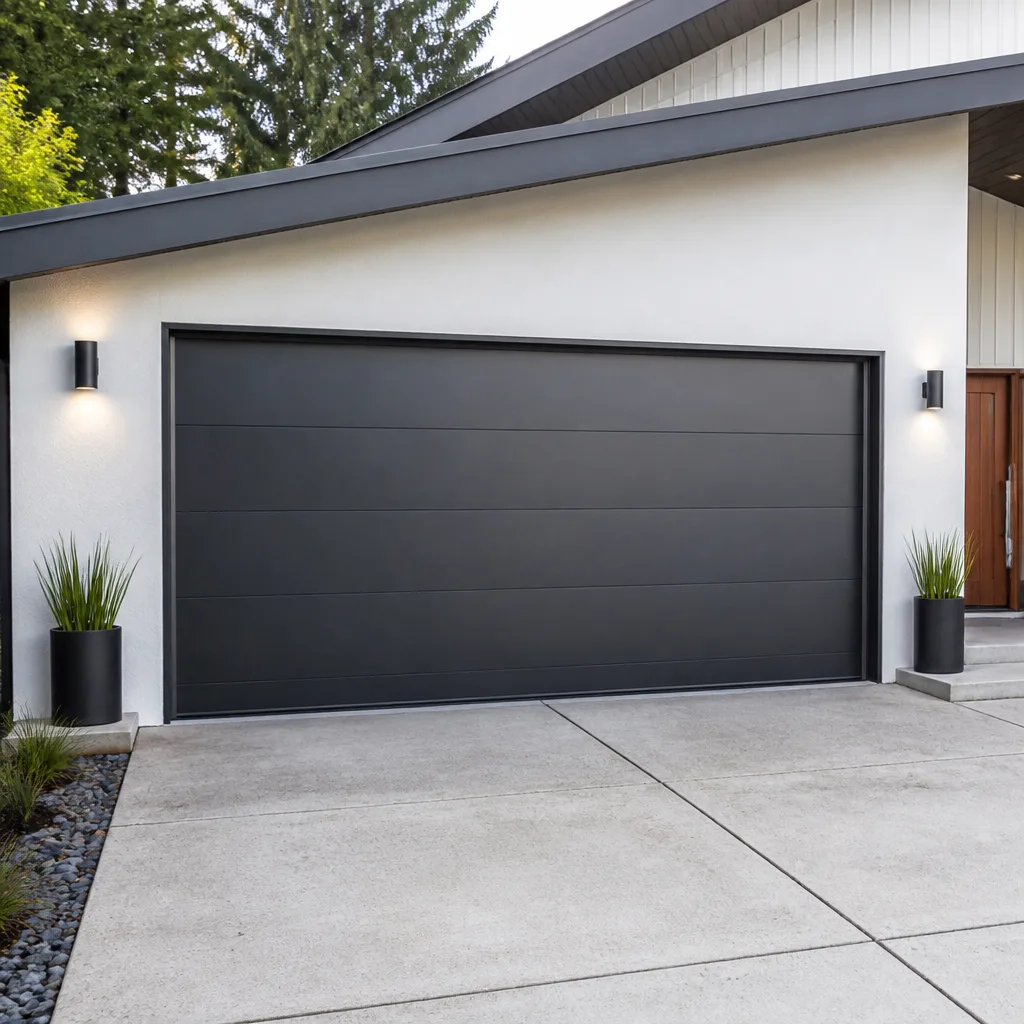 Modern flush
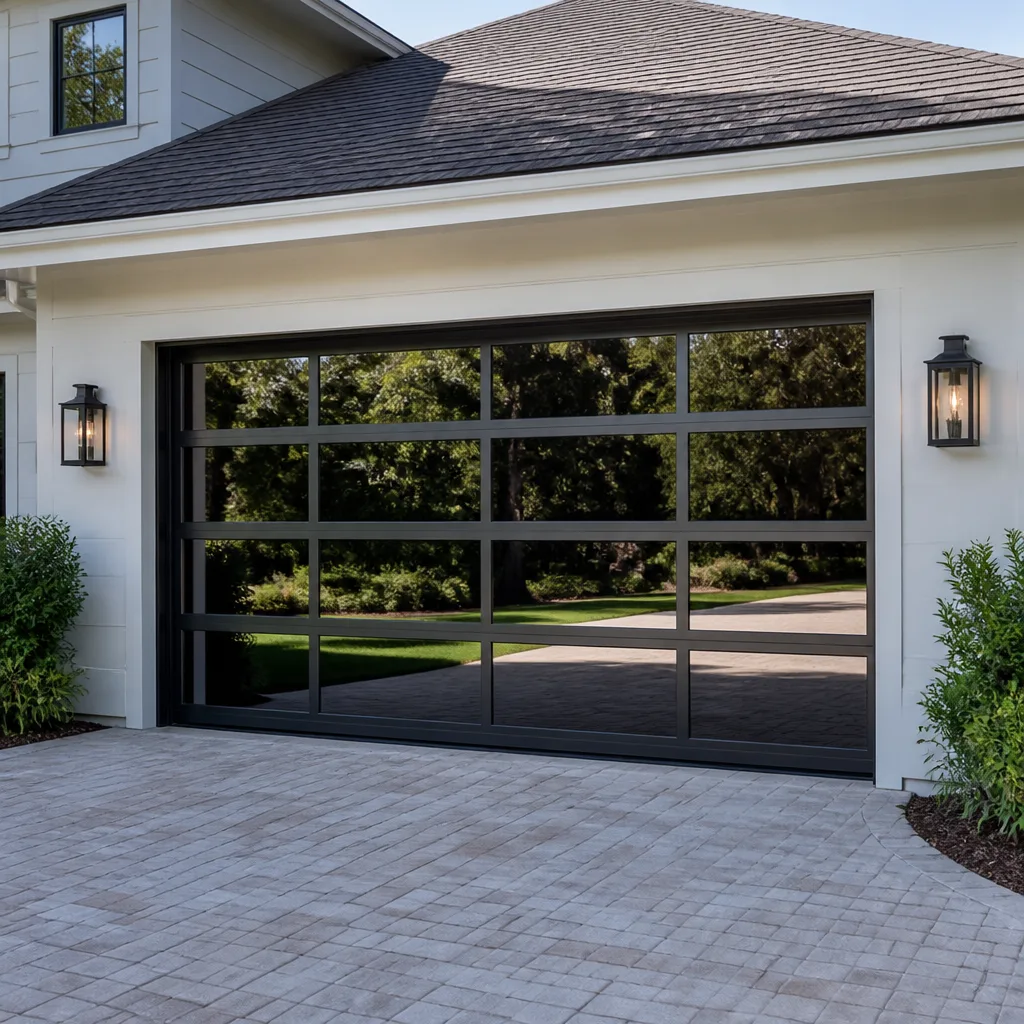 Full-view glass
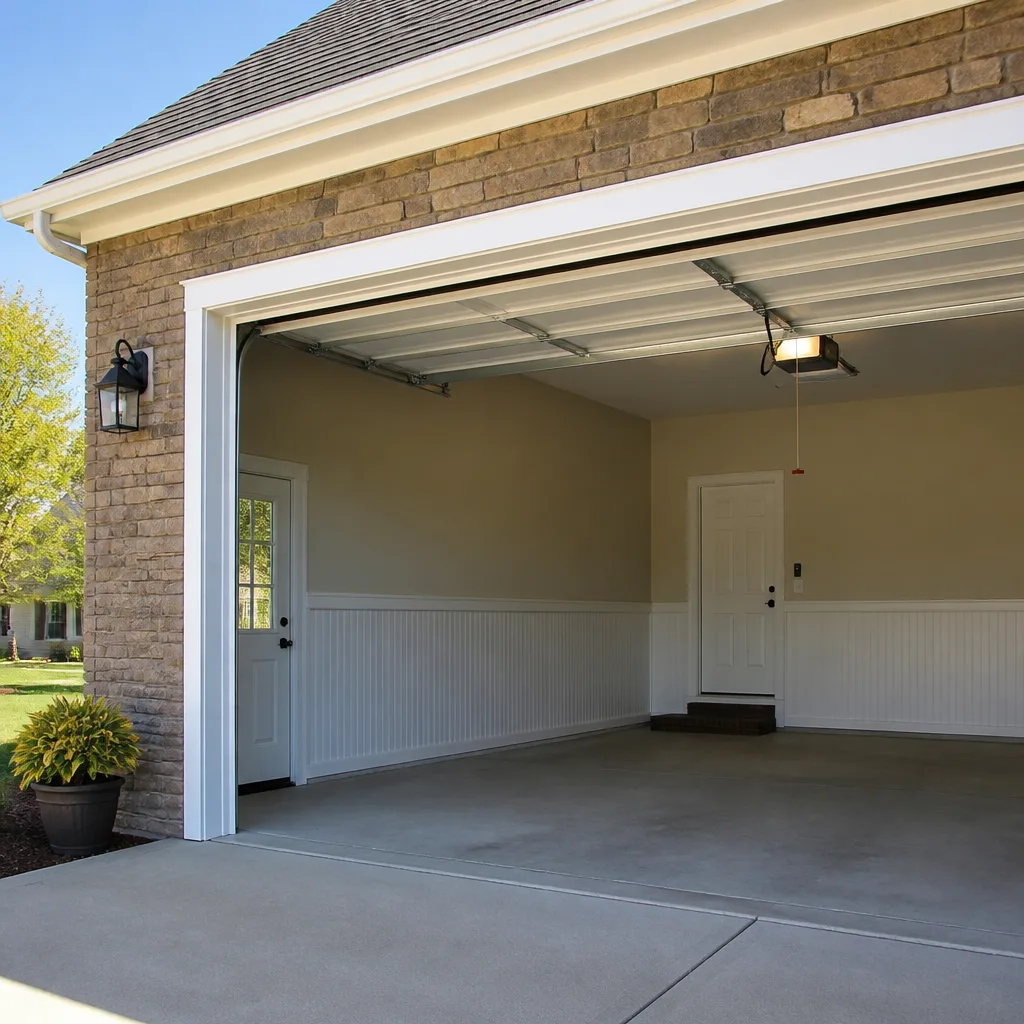 LiftMaster openers
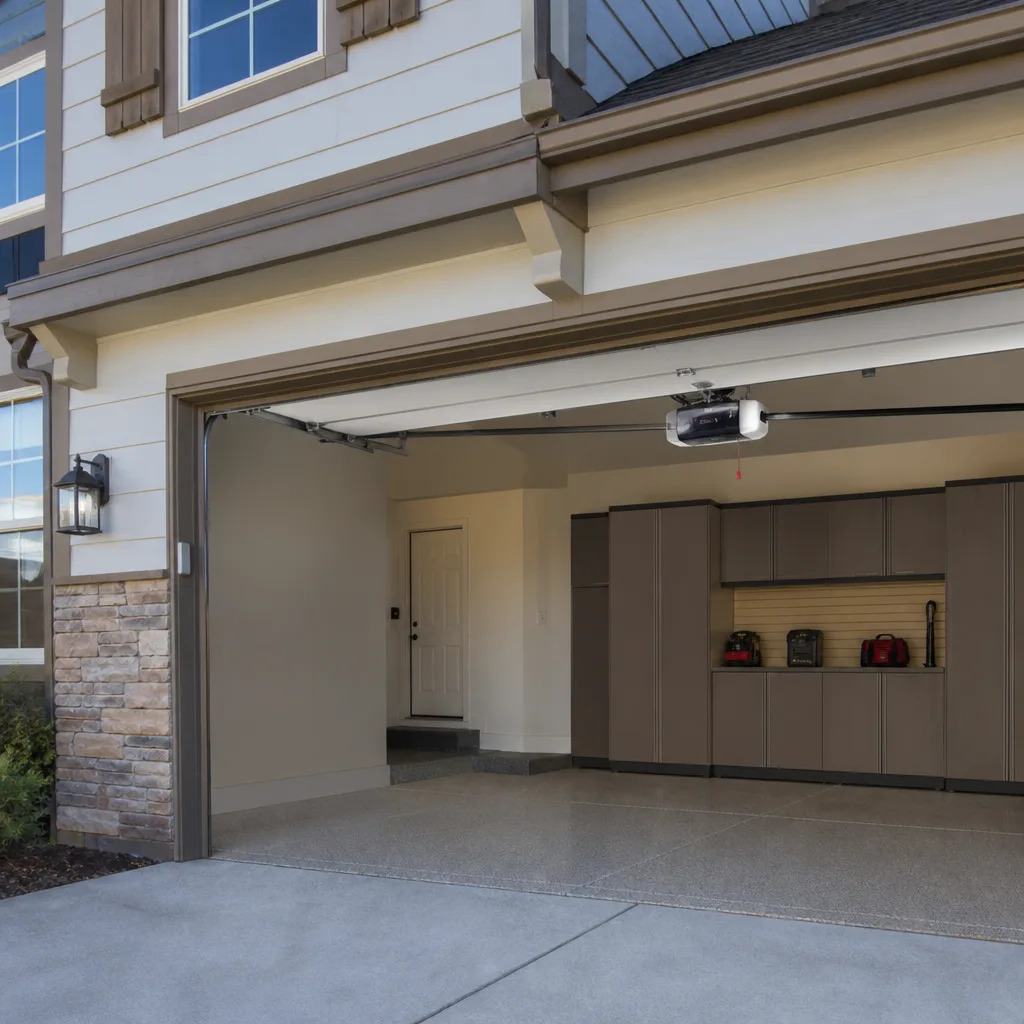 Chamberlain openers
Full 25-point door and opener safety check with every visit - springs, cables, rollers, tracks, and your LiftMaster or Chamberlain opener included
You get a price before we start. It does not change when the truck arrives.
Get your free estimateDIY vs Professional Garage Door: The Jurupa Valley Homeowner’s Decision Guide
Here’s a number that should reset how you think about this whole question: a torsion spring under full tension stores roughly 1,000 to 1,500 pounds of torque, and when it lets go, the steel cone can exit the assembly fast enough to break bone. That’s the risk half of this guide. The other half is equally true: changing a weather seal, reprogramming a garage door opener keypad, and realigning photo-eye sensors are tasks most Jurupa Valley homeowners can finish before lunch with tools already in the drawer. The DIY-versus-professional question was never about how handy you are. It’s about which specific jobs carry real, physics-based danger and which are straightforward enough that hiring a technician is just a convenience fee. This guide draws that line clearly, so you stop paying for the simple stuff and stop risking the dangerous stuff. For more guides & resources on keeping your garage door safe and functional, explore our blog.
Quick Answer
Most garage door maintenance tasks in Jurupa Valley are safely DIY-able: lubrication, weather seal replacement, opener reprogramming, and sensor realignment. But torsion spring replacement, cable work, track repair, and any job involving the door’s tension system should be left to a professional – the stored energy is genuinely life-threatening and correction of a botched job often costs triple the original repair. Call Briarwood Garage Door Repair home at (866) 569-5176 when the job involves tension, and handle the rest yourself if you’re comfortable with basic tools.
Styles & brands we work with
- Raised-panel steel
- Carriage house
- Modern flush
- Full-view glass
- LiftMaster openers
- Chamberlain openers
Table of Contents
- Understanding the Mechanics of Your Garage Door
- Torsion Springs vs Extension Springs: The Risk Difference Explained
- The DIY-Approved List: Tasks Jurupa Valley Homeowners Can Safely Handle
- The DIY-Possible-With-Risk List: Honest Self-Assessment Required
- The Professional-Only List: Where the Line Is Not Negotiable
- The Real Cost of DIY vs Professional: Including the Botched-Job Scenario
- Tools and Knowledge Threshold: How to Honestly Self-Assess Before Starting
- Jurupa Valley-Specific Factors: Climate, Code, and What We See on Service Calls
Understanding the Mechanics of Your Garage Door
A garage door looks simple from the driver’s seat, but it’s a system of counterweights, rollers, cables, and a motor that all have to cooperate. When one part fails, the whole assembly strains. That’s why the first question on any repair call in Jurupa Valley isn’t “what broke?” It’s “what else did the breakage stress?”
Here’s the basic architecture. The door itself – typically steel, aluminum, or wood – weighs anywhere from 120 to 350 pounds depending on size and material. That weight is counterbalanced by springs. When you press the opener remote, the motor doesn’t actually lift the full weight of the door; it lifts the difference between the door’s weight and the spring tension. This is why a broken spring makes a door feel impossible to budge, and why the opener burns out trying.
- Springs: Store the lifting energy. Two types: torsion (mounted on a bar above the door) and extension (stretched along the horizontal tracks).
- Cables: Steel wire cables connect the spring system to the bottom of the door and transfer lifting force. When a spring breaks, the cable often whips free.
- Rollers & Tracks: Guide the door up and down. Bent tracks or worn rollers cause jerking motion and accelerated wear on everything else.
- Opener: The motorized unit. LiftMaster, Chamberlain, Genie, and Craftsman dominate the Jurupa Valley installed base, with the occasional Wayne Dalton or Raynor model on newer builds.
- Safety sensors: The photo-eye pair near the floor at each side. When the beam is interrupted, the door refuses to close.
Understanding this basic map matters because it tells you where risk concentrates. The springs and cables hold the deadly energy. The opener, sensors, and weather seal do not. That single distinction drives everything that follows in this guide.
Torsion Springs vs Extension Springs: The Risk Difference Explained
Most online tutorials blur these two systems together. That blur is dangerous, because the risk profile is categorically different. In our experience, homeowners who’ve absorbed vague “springs are dangerous” warnings still don’t understand why one type deserves a hard line and the other, while still risky, is less catastrophically so.
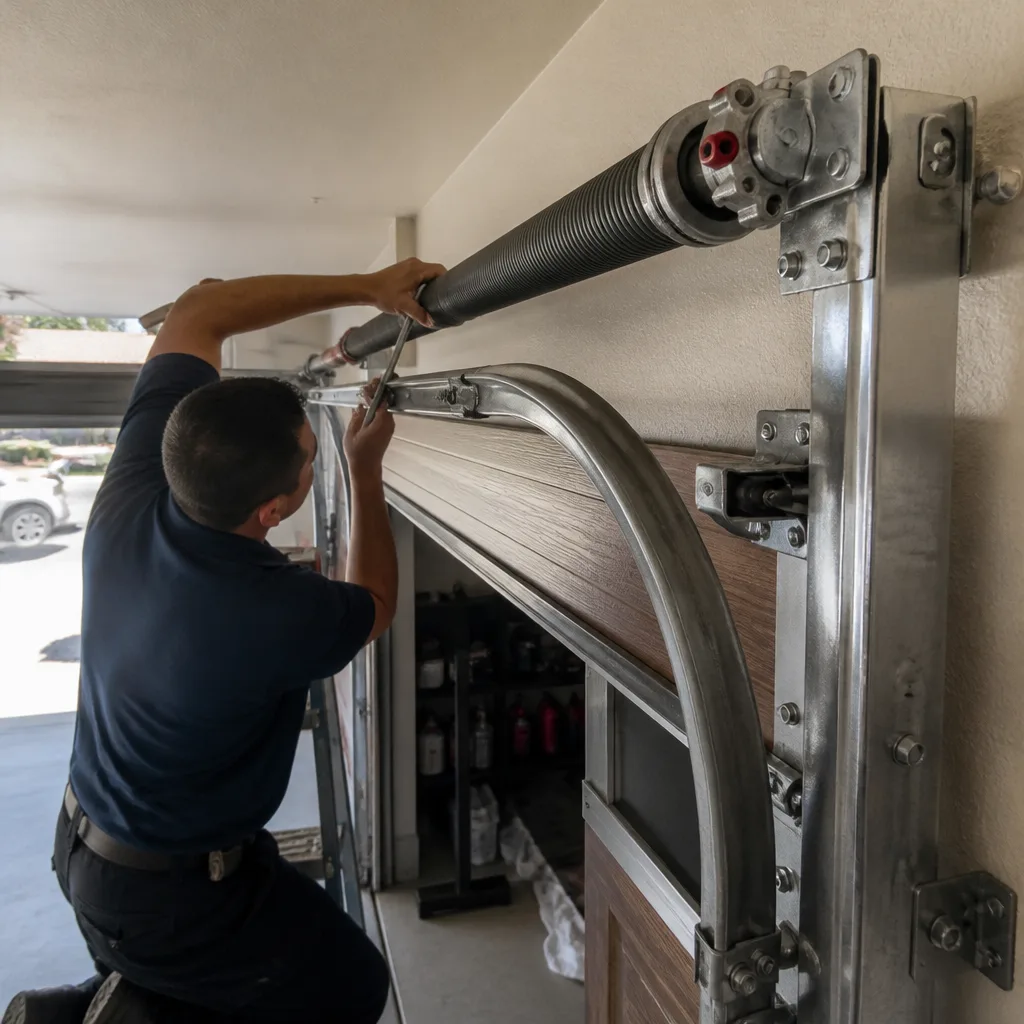
Torsion springs sit on a metal shaft directly above the door opening. They’re wound tight, storing rotational force. The energy is released gradually as the door closes, but it’s always there – hundreds of pounds of twist waiting in that coil. When a torsion spring breaks, it doesn’t just snap; the cone that holds the spring to the bracket can shoot across the garage. We’ve found the damage: holes in drywall, cracked windshields on parked cars, a bent steel shelf. Now imagine a forearm in the path. Winding or unwinding a torsion spring requires winding bars inserted into the spring cone, and one slip means the bar becomes a projectile. This is physics, not worst-case speculation.
Extension springs run along the horizontal tracks on both sides. They stretch and contract. The risk is real – a stretched spring under load can break and send fragments flying – but the force is linear, not rotational, and the springs are typically contained within a safety cable on modern installations. The injury potential is lower, though the respect should remain. We still classify extension spring replacement as professional-only in most cases, but for a different reason: without the right tools and experience, matching spring rate to door weight is easy to get wrong, and a wrong-rate spring causes the door to slam or refuse to close.
The distinction matters because a homeowner who’s watched a video on extension spring replacement and then confronts a torsion spring setup is in real danger. They look superficially similar. They are not.
A final note on springs and brand: whether your door is Wayne Dalton, Clopay, Amarr, or a Raynor install, the spring system follows the same physics. But spring dimensions and weight ratings vary by door manufacturer, and ordering the wrong replacement spring online is one of the most common causes of a second, more expensive repair call.
The DIY-Approved List: Tasks Jurupa Valley Homeowners Can Safely Handle
This is the list we give friends and family in Jurupa Valley who call and ask “should I even try this myself?” Every task here involves zero tension-system risk and tools you likely already own. None of them require lifting the door off its tracks. None involve compressed or coiled energy.
- Lubrication. A spray can of white lithium grease or a silicone-based garage door lubricant, applied to rollers, hinges, tracks, and the torsion spring itself, every four to six months. In Jurupa Valley’s dry, dusty climate, this prevents the grit-induced grinding we see constantly on spring and opener service calls. Total cost: about $8. Time: 15 minutes.
- Weather seal replacement on the bottom of the door. The rubber strip along the bottom edge degrades from sun exposure and summer heat. Replacement strips are universal or brand-specific, slide into the existing channel, and require only a flathead screwdriver or just your hands. This is the most common “we’ll charge a service fee for that?” task we handle.
- Opener remote and keypad reprogramming. LiftMaster, Chamberlain, Genie, and Craftsman openers all have straightforward learn-button programming procedures. Press the learn button, press the remote button, done. The exact steps are in your opener manual or a 90-second manufacturer video. No risk, no special tools.
- Photo-eye sensor realignment. If your door reverses before fully closing, the sensors are likely misaligned or dirty. A slightly bent bracket from a bumped bike or trash can is the usual culprit. Loosen the wing nut, straighten the bracket so both sensors’ indicator lights are steady, clean the lens with a soft cloth, and tighten. Two minutes, no tools beyond a wrench.
- Track and roller cleaning. Built-up dust and cobwebs in the tracks cause friction noise and premature roller wear. Wipe tracks with a dry cloth, vacuum the roller area, and if rollers are metal-on-metal, consider nylon roller replacement as a future project. Cleaning is safe; replacing rollers is a different category covered below.
Each of these tasks should take under 30 minutes. The failure consequence is cosmetic or operational, never physical. If you’re comfortable following a recipe or IKEA instructions, you’re qualified for all five.
The DIY-Possible-With-Risk List: Honest Self-Assessment Required
These tasks are mechanically within reach of a determined homeowner with the right tools and a clear understanding of what can go wrong. They don’t involve stored spring tension, but they do involve lifting, alignment, electrical connections, or parts that need to be exactly right. The honest question isn’t “can I do this?” It’s “can I do this without creating a bigger problem than I’m solving?”
- Roller replacement. This requires removing the bottom roller bracket, which is attached to the cable. If the cable slips, the door drops. Many YouTube videos skip this part. The workaround most pros use is a clamp on the track to hold the door in place, but if you don’t know where to position that clamp, you’re exposing yourself to a dropped panel. Possible, yes. Risk of a pinched hand or a misaligned door: real but manageable with care.
- Opener replacement (full unit). Mounting a new opener – say, a LiftMaster belt drive replacing an old Chamberlain chain drive – requires wiring, bracket placement, and setting the travel limits correctly. The physical risk is low; the frustration risk is high. A misjudged travel limit means the door reverses when it shouldn’t or fails to close that last inch. Most homeowners who call us after a botched opener install are less embarrassed than exhausted. This is a good candidate for DIY only if you’ve got a patient afternoon and a helper.
- Hinge replacement at the top or middle of the door. These are the single-piece hinges that don’t interface with the cables, so the risk is lower than bottom-bracket work. But you’re still supporting a door section while swapping hardware, and the new hinge needs to match the old one’s geometry or you’ll create a binding point.
- Garage door opener remote range troubleshooting. Sometimes the fix is reprogramming (safe, above). Sometimes it’s a failing logic board or receiver, which means opener repair by a technician. Diagnosing which is which without a multimeter and a parts catalog of your specific model is guesswork, and the guess is usually wrong. For reference, Garage Door Opener Repair in Jurupa Valley calls frequently involve openers that were replaced entirely when a $40 logic board would have fixed the issue – because nobody diagnosed it first.
For each task on this list, the determining factor is whether you understand what “right” looks like before you start. If you’re tightening a bolt and hoping for the best, you’re outside the honest self-assessment zone.
The Professional-Only List: Where the Line Is Not Negotiable
This list is short and absolute. Every item involves stored mechanical energy that can discharge without warning, or a structural failure of the safety systems that exist to prevent exactly that discharge. No amount of YouTube confidence overrides the physics.
1. Torsion spring replacement and winding
The stored energy in a wound torsion spring is enough to break a jaw, fracture a wrist, or kill. The winding process uses two steel bars inserted into the cone, and one slip of the bar means it exits at speeds you cannot dodge. This is the single most dangerous residential repair in any trade. Even among professionals, it’s treated with caution. We categorize this as a clear no.
2. Extension spring replacement
Lower catastrophic risk than torsion, but the spring must be correctly sized for the door weight, the safety cable must be properly routed, and the attachment hardware must be rated. Wrong spring rate equals a door that slams shut from the open position. We classify this as professional-only because the failure mode is invisible until the door drops.
3. Cable replacement or repair
Cables hold the load when the spring system is partially relaxed, and they’re under tension even with the door fully open. A cable that snaps under load can strike anyone nearby. Replacing cables also requires de-tensioning the spring system, which returns you to item one. This is a package deal with spring work.
4. Track repair and panel realignment after an impact
Whether a car tapped the door, a kid hit it with a bike, or the door came off the tracks on its own, the structural geometry is now compromised. Realigning track requires lifting and repositioning a door that weighs hundreds of pounds. If a cable or roller is loose during this process, the door can fall. This is where we see the worst DIY injuries in Jurupa Valley – homeowners trying to “pop” a door back onto its tracks alone.
5. Anything involving the bottom bracket
The bottom corner brackets connect the cable to the door. They’re also where the door’s weight bears down when resting. Removing one without first clamping the door and releasing spring tension is how garage doors fall on people. If any repair requires touching these brackets, it moves to professional territory.
If your door issue involves any of these five, the decision is made. Call Garage Door Repair in Jurupa Valley at (866) 569-5176 and let a technician who does this daily handle it. The service fee is the cheapest version of this problem you’ll ever pay.
The Real Cost of DIY vs Professional: Including the Botched-Job Scenario
Most DIY-versus-professional cost comparisons are dishonest because they compare the best-case DIY scenario against the average-cost professional scenario. Here’s the comparison that matters: what actually happens in Jurupa Valley when each path goes the way it typically goes.
Simple maintenance tasks: DIY wins every time
Lubrication, weather seal replacement, and sensor realignment cost under $40 in materials total. A service call for any of these would run $75 to $150 just for the visit. This is money saved with zero added risk. Skip the professional on these.
Moderate repairs: DIY makes sense only if the diagnosis is already confirmed
Say you’ve got a noisy opener or a door that reverses unexpectedly. If you already know the exact fix – a worn roller, a dirty sensor, a failed capacitor on the logic board – and the part is confirmed correct for your model, DIY can save you the labor portion of a repair call. In Jurupa Valley, that labor typically runs $85 to $150 on top of the part. But here’s the catch: if the diagnosis is wrong, you’ve now bought the wrong part, spent an afternoon installing it, and the problem persists. The call comes anyway, plus you’ve added the cost of your own misdiagnosis. This is the single most common way a “DIY savings” becomes a DIY tax.
Major repairs and spring work: professional wins even before safety enters the math
A torsion spring replacement in Jurupa Valley runs $180 to $340 including parts and labor, depending on whether you need one spring or a matched pair. For a deeper look at pricing factors, see our Garage Door Cost Breakdown: The Jurupa Valley Homeowner’s Reference for 2026. Doing it yourself would mean buying winding bars ($25), the spring itself ($40 to $90), and then taking on the risk. The savings: maybe $120. The downside scenario: a slip sends a winding bar through your garage wall, through your car, or through you. Even the non-catastrophic downside – an incorrectly wound spring that makes the door heavy on one side, followed by a professional call to redo the work – puts you at a net loss.
The botched DIY correction scenario, priced honestly
We’ve been called to Jurupa Valley garages where a homeowner attempted a spring or cable repair and made it worse. The pattern is consistent: the door is now locked in the open or closed position, the replacement spring is the wrong size, and the cable has cut into the track. What would have been a $250 spring replacement now requires: spring re-replacement, cable replacement, and possibly track section replacement. The final invoice lands between $450 and $750. The DIY attempt didn’t just fail to save $120; it added $200 to $400 of additional damage correction.
The honest framework: DIY only when the task appears on the DIY-Approved list. If it requires a part you can’t identify with confidence, the professional call is cheaper in expectation.
Tools and Knowledge Threshold: How to Honestly Self-Assess Before Starting
Every garage door task sits on a spectrum of tool requirements and mechanical understanding. Before starting anything, ask yourself three questions. Answer honestly, and the right call usually makes itself.
Question 1: Do I own the specific tools required? For the DIY-approved tasks, the answer is yes: a wrench, a screwdriver, some lubricant, a soft cloth. For the DIY-possible list, the answer is often “almost”: you may have a socket set but not a locking clamp rated for a door; you may have a ladder but not the specific winding bars for a torsion spring. If you’re buying tools specifically for a single repair, that’s a signal the repair is outside your normal competence zone. And never improvise a winding bar from a screwdriver. That’s not a tool substitute; it’s a hospital admission.
Question 2: Do I understand the failure mode if I get it wrong? On a weather seal, the failure mode is “water gets in and I redo it.” On a sensor, it’s “the door won’t close and I clean it again.” On a roller, it’s “I pinch a finger.” On a cable, it’s “the door falls and I may not walk away.” If you can’t articulate the worst-case outcome of your repair attempt, you don’t yet understand the system well enough to touch it.
Question 3: Do I know what “right” looks like at each step? Professional technicians don’t succeed because of secret knowledge. They succeed because they’ve seen hundreds of correct installations and know when a spring is wound properly by the number of quarter-turns, when a track is aligned by the gap at the roller, and when a cable is seated by the tension on the drum. If your plan is “tighten it until it feels right,” that’s not knowledge; that’s guessing. In our experience, “felt right” is the most expensive phrase in home repair.
If all three answers are honest yeses, proceed. If any answer is a no or a maybe, either research until it’s a yes or hire the call. There’s no middle ground where garage doors are concerned.
Jurupa Valley-Specific Factors: Climate, Code, and What We See on Service Calls
Garage door maintenance in Jurupa Valley isn’t identical to garage door maintenance in, say, San Francisco or Chicago. The local climate and the local housing stock create specific failure patterns that a lot of generic online advice doesn’t address. We know them because we’re the ones driving out to fix them.
The summer heat is a spring killer. Jurupa Valley regularly sees summer temperatures above 95 degrees. Metal fatigue accelerates in heat, and torsion springs are rated for a specific number of cycles – the industry standard is 10,000. What most homeowners don’t know: temperature swings cause the metal to expand and contract daily, which reduces real-world lifespan below the factory rating. We see average spring life in Jurupa Valley around 7 to 9 years, versus 10 to 12 in coastal cities. If your door is original to a home built a decade ago, the springs are likely due.
The dust is not cosmetic. The Santa Ana winds and the generally dry Riverside County climate push fine grit into every moving part of a garage door system. That grit works into roller bearings, clings to lubricated surfaces, and creates a grinding paste that accelerates wear. This is why lubrication in Jurupa Valley should happen on a schedule – every four months, not the “once a year” that general guides recommend. It’s also why we see roller replacement at higher rates here than in wetter climates.
Older housing stock means mixed brands and mixed vintages. Jurupa Valley’s garage door landscape is a patchwork: 1970s-era ranch homes with original steel doors, 1990s track developments with builder-grade openers now 25 years old, and newer infill construction with modern lift units. That means the installed base of openers spans multiple decades of LiftMaster and Chamberlain models, with Genie and Craftsman units on the older stock and occasional Wayne Dalton or Raynor doors on newer builds. For homeowners, this means your specific opener’s repair path depends on its generation – and generic advice aimed at one brand or era often doesn’t translate.
Permits are not the obstacle you might think. For full door replacement in Jurupa Valley, a permit is generally not required for a door swap that doesn’t alter the opening’s structural framing. See our Garage Door Permits, Codes & Inspections in CA: What You Need to Know for full details. The work typically falls under routine maintenance. However, if a track or mounting modification changes the framing, that’s a different category and may trigger a permit. A homeowner swapping identical-track hardware won’t hit this; a homeowner trying to widen the opening will.
Every one of these local factors – heat-accelerated spring fatigue, dust-driven roller wear, mixed-vintage opener stock – has a direct impact on the DIY-versus-professional question. If a door is behaving strangely in a Jurupa Valley garage, the root cause is more likely to be environment-related than in a generic troubleshooting checklist.
Common Mistakes to Avoid
- Treating all spring work as equally dangerous. Extension springs and torsion springs are not the same risk category, but both require respect. The mistake is assuming a YouTube video on one translates to handling the other.
- Lubricating with WD-40. WD-40 is a penetrant and water displacer, not a lasting lubricant. It actually strips away existing grease and leaves metal components more vulnerable to Jurupa Valley’s dust. Use white lithium grease or a silicone-based garage door lubricant instead.
- Replacing one spring when the pair is the same age. Torsion springs are installed in matched pairs. When one breaks, the other is at the same cycle count and will fail soon. Replacing just the broken one means paying for labor twice within months. Professionals replace both; homeowners trying to save money on the second spring just delay the inevitable second call.
- Buying the cheapest replacement part online without matching specifications. A spring rated for a 180-pound door installed on a 250-pound door will fail catastrophically. Door weight, spring wire gauge, spring length, and wind direction all have to match. The $15 saved on a “close enough” part becomes a $300 correction.
- Attempting a repair while the opener is still connected to power. This should be obvious, but we’ve had calls where a homeowner started removing opener components without unplugging the unit. Garage door openers have capacitors that can hold charge even after unplugging. Power off. Always.
- Ignoring a squealing opener for months. The squeal is usually the gear and sprocket assembly stripping itself. By the time the opener stops moving the door entirely, the repair has expanded from a gear replacement to a full opener replacement. A noise you notice today is a $40 problem; the same noise ignored for three months is a $300 problem.
- Assuming the door itself is broken when the real problem is the opener’s logic board. Doors are simple physical systems. Openers are electronic. A door that reverses unexpectedly, opens on its own, or refuses to respond to the remote is far more likely to be an opener issue than a door issue. Misdiagnosing this wastes hours on door adjustments that do nothing.
See the difference
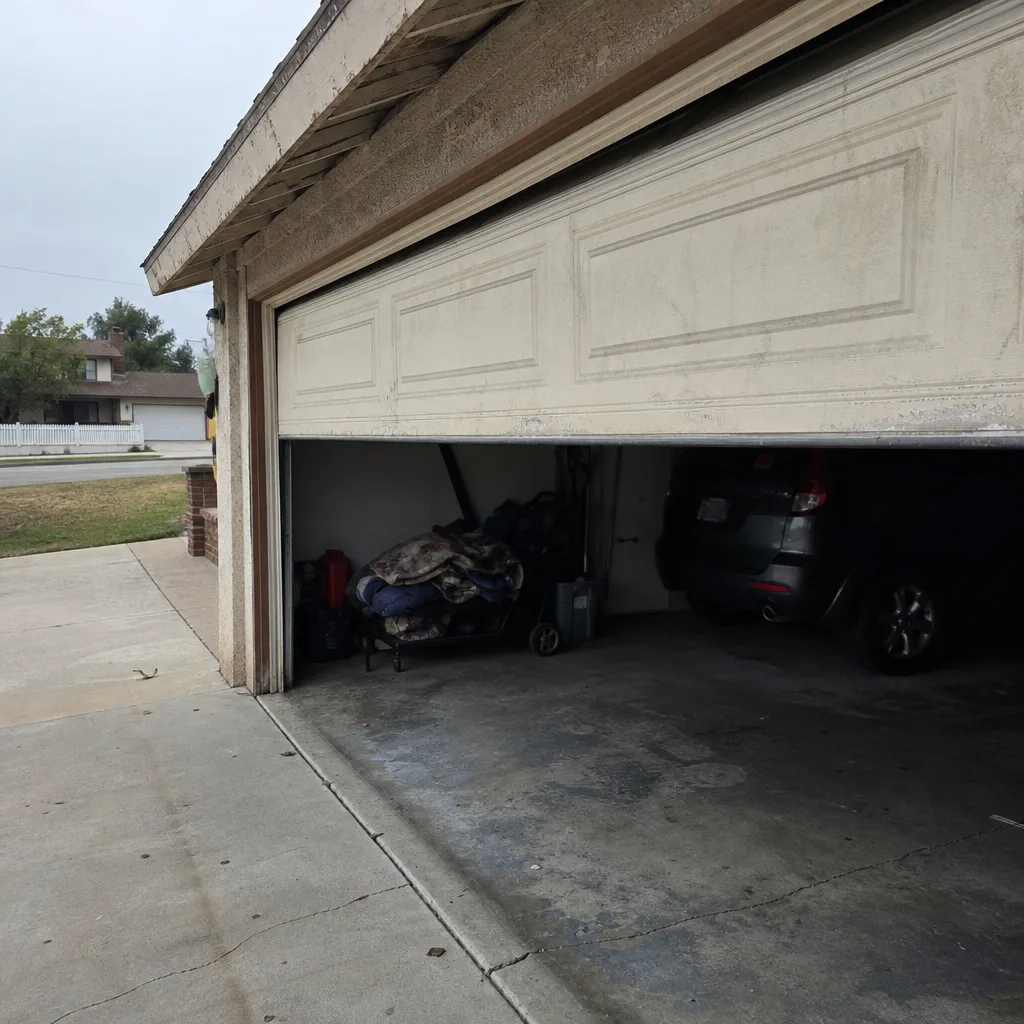 Before
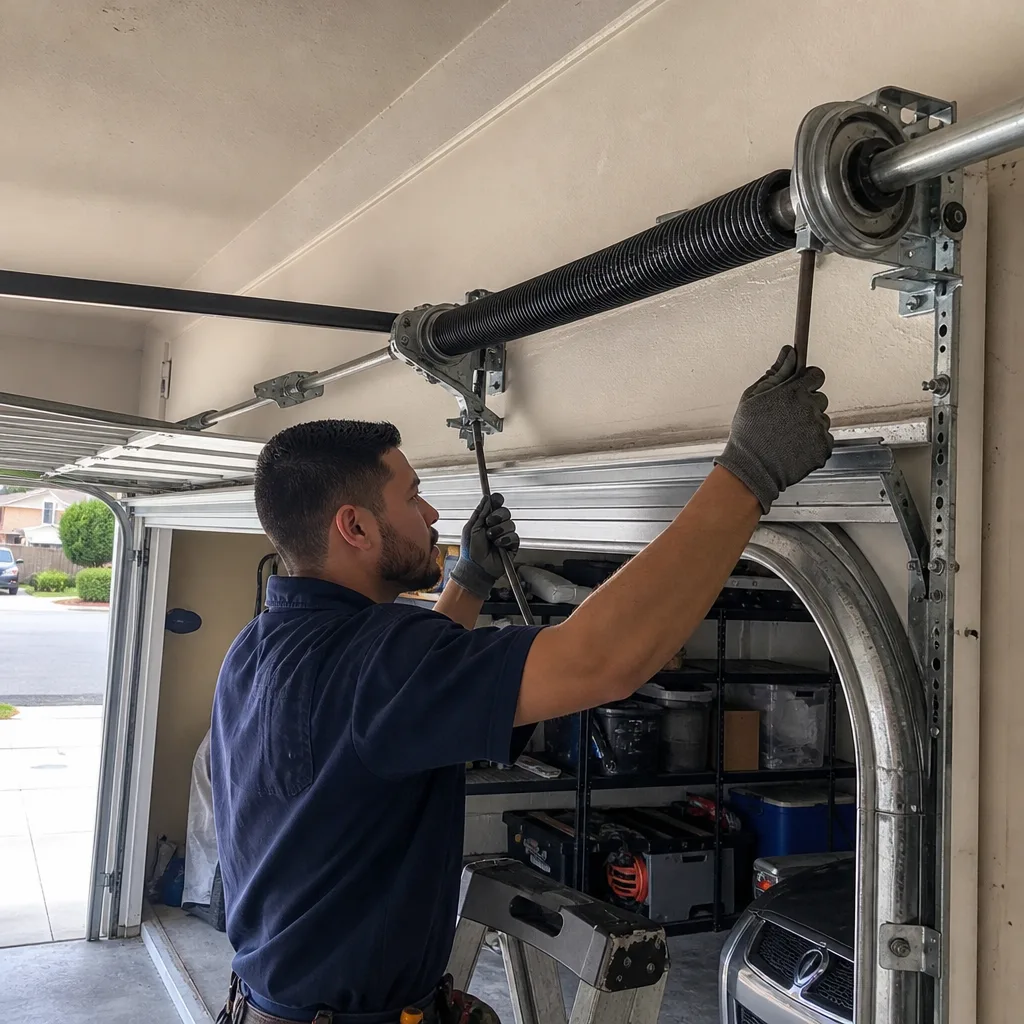 After
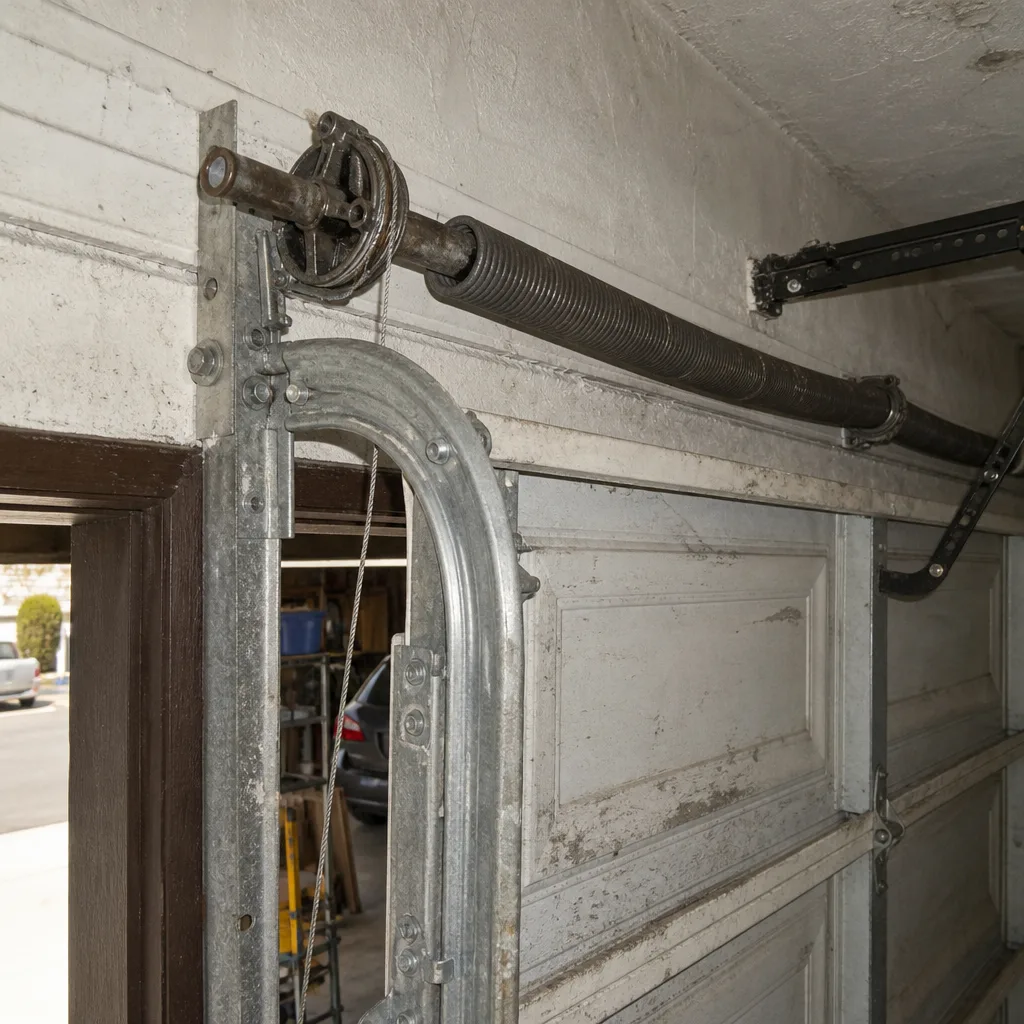 Before
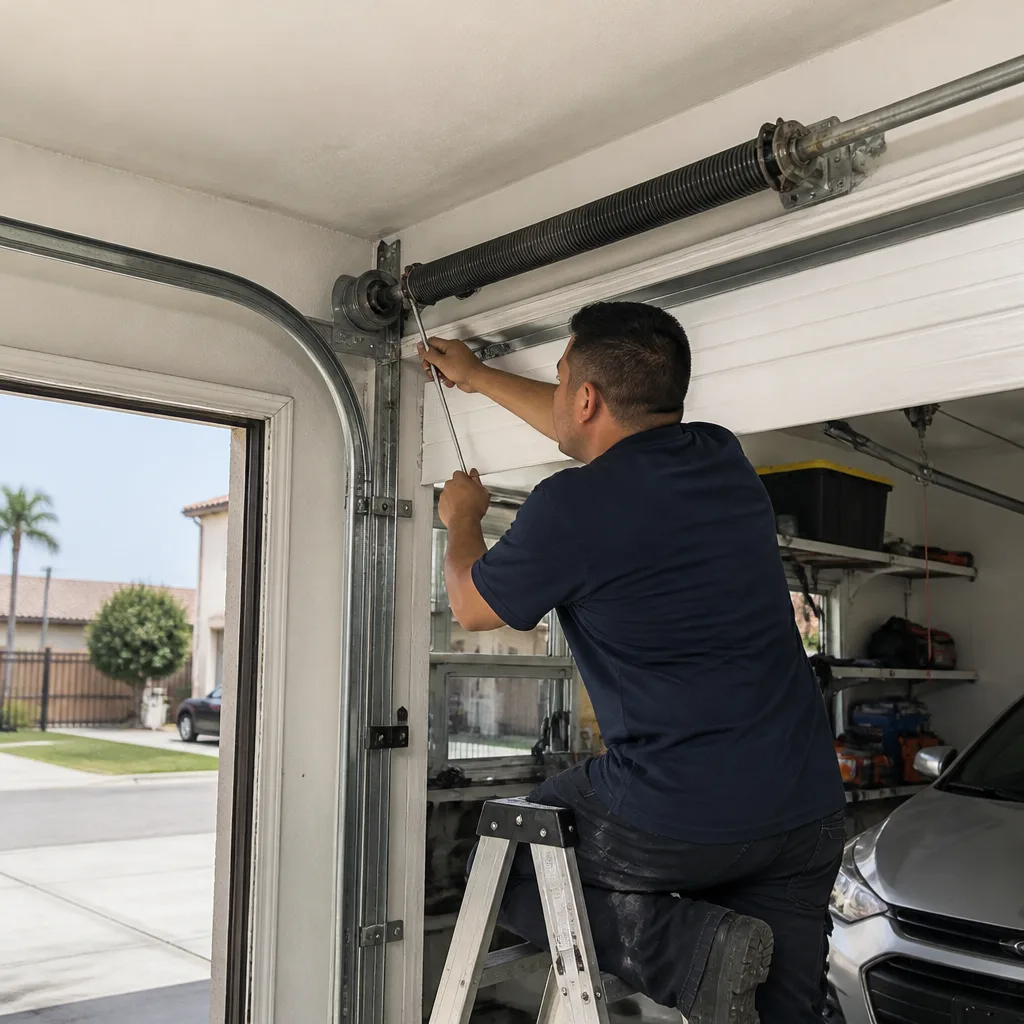 After
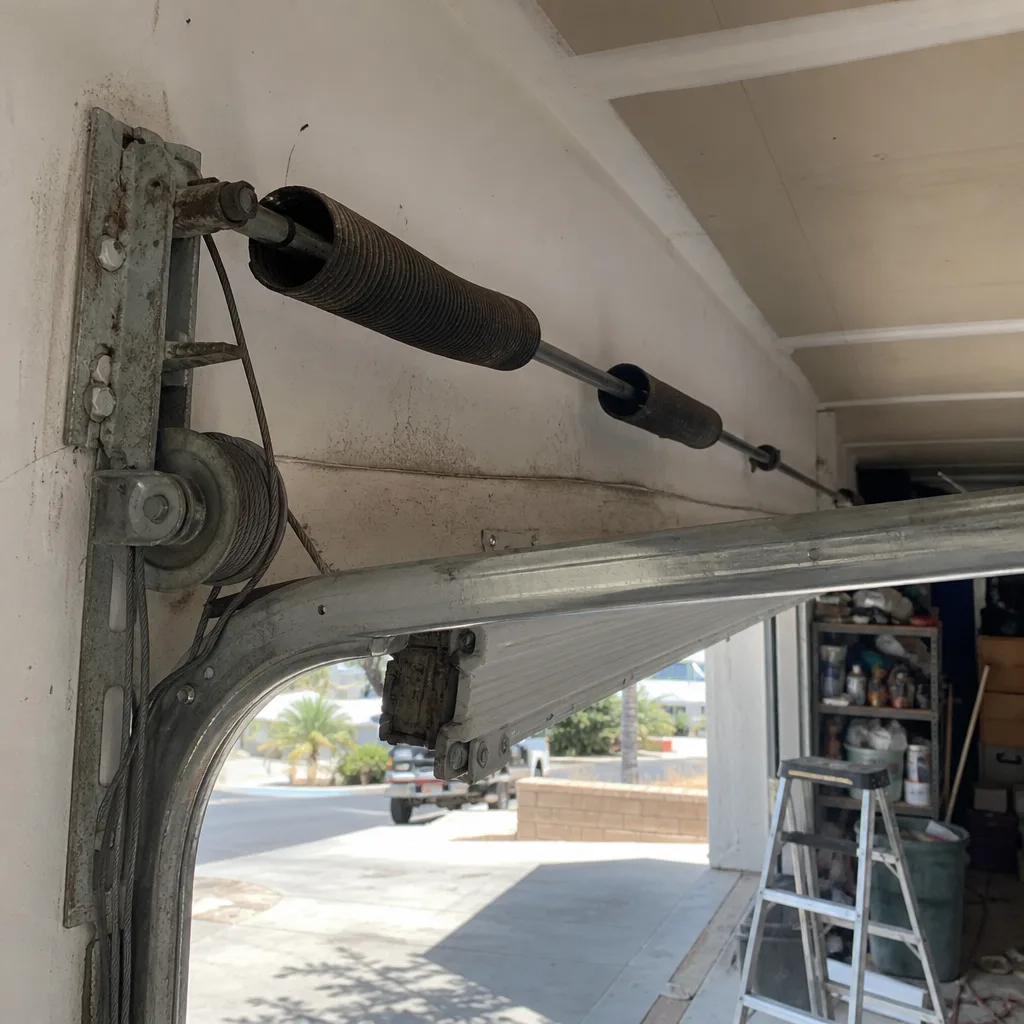 Before
 After
When to Call a Professional
Call a professional the moment the repair involves the spring system, cables, bottom brackets, or a door that has come off its tracks. Our Garage Door Emergency Preparedness Guide for Jurupa Valley Homes covers how to handle these situations safely. These are not judgment calls; they’re safety decisions. You should also call if a repair attempt you’ve already started has left the door stuck open, stuck closed, or making a sound you’ve never heard before.
Beyond the safety line, the professional call makes financial sense when the diagnosis is uncertain. If you’ve done the troubleshooting steps and the problem persists, paying a technician to properly diagnose – rather than replacing parts one at a time – is usually cheaper in the real world. This is where brand-agnostic service matters. A technician who works across LiftMaster, Chamberlain, Genie, Craftsman, Wayne Dalton, and Raynor can diagnose your actual system instead of steering you toward whatever brand their shop happens to stock. The right fix for your system, not the easiest upsell.
Garage Door Installation in Jurupa Valley is available when a replacement is the actual right call, and a proper diagnosis is always the starting point. Briarwood Garage Door Repair offers free estimates in Jurupa Valley – call (866) 569-5176.
Frequently Asked Questions
Torsion spring replacement in Jurupa Valley typically runs $180 to $340, depending on whether one spring or a matched pair is replaced and on the spring’s size rating. Extension spring replacement typically falls in the $150 to $250 range. The price is quoted and agreed before any work starts, so the number never changes once you approve it. Call (866) 569-5176 for an exact quote – estimates are free.
Yes, replacing a full opener unit is DIY-possible if you’re comfortable with basic wiring, bracket mounting, and setting travel limits correctly. The risk of injury is low, but the frustration risk of a misaligned or incorrectly programmed opener is high. If you’re replacing a Chamberlain or LiftMaster unit with the same brand, the mounting points are often identical, which simplifies the job. If the new unit is a different brand or generation, expect to spend a full afternoon and read the manual twice.
A slamming door almost always means the spring tension is wrong for the door’s weight. This happens when a spring has weakened or broken, or when a DIY replacement spring was mismatched to the door. The fix requires correcting the spring configuration, which is professional territory. Ignoring it accelerates wear on the opener, hinges, and rollers, and eventually leads to a full system failure.
Every four months is the right interval for Jurupa Valley’s heat and dust conditions. Use white lithium grease or a silicone-based garage door lubricant on rollers, hinges, track surfaces, and the spring system. Skip the WD-40.
If the opener motor runs but the door doesn’t move, the most common causes are a broken torsion spring (the opener can’t lift the full door weight alone), a stripped gear assembly inside the opener, or a disconnected emergency release. A broken spring is the leading cause and requires professional replacement. Check the spring above the door first – if there’s a visible gap in the coil, that’s the problem.
For a same-size door replacement that doesn’t alter structural framing, no permit is typically required. The work falls under routine maintenance. If a repair or installation changes the opening dimensions or requires framing modification, a permit may be needed. A qualified installer will flag this before the project starts.
The Bottom Line
The DIY-versus-professional decision for garage doors in Jurupa Valley is not about confidence or handiness. It’s about drawing a hard line between tasks with negligible risk and tasks with stored-energy risk that can kill or maim. Lubrication, seal replacement, sensor alignment, and opener reprogramming: do these yourself and keep the money. Spring replacement, cable work, track repair, and bottom bracket touches: hire a specialist and keep your hands. For everything in between, the deciding factor is whether you can honestly articulate the failure mode before you start. A brand-agnostic technician saves money specifically when the root cause is misdiagnosed – and on garage doors, misdiagnosis is more common than most homeowners would guess.
Written by the team at Briarwood Garage Door Repair, serving Jurupa Valley since 2018.